Hi everyone! It’s been a while, hasn’t it?! I’m excited to be back sharing cards with you for Butterfly Reflections Ink for the next few months 🙂 Vanessa asked me if I could fill in, and of course I was thrilled to do so and dip my toes back in the card making universe after being absent for so long. Today I have a card to share with you using some of the awesome products found in her shop. Let’s take a look at the card.
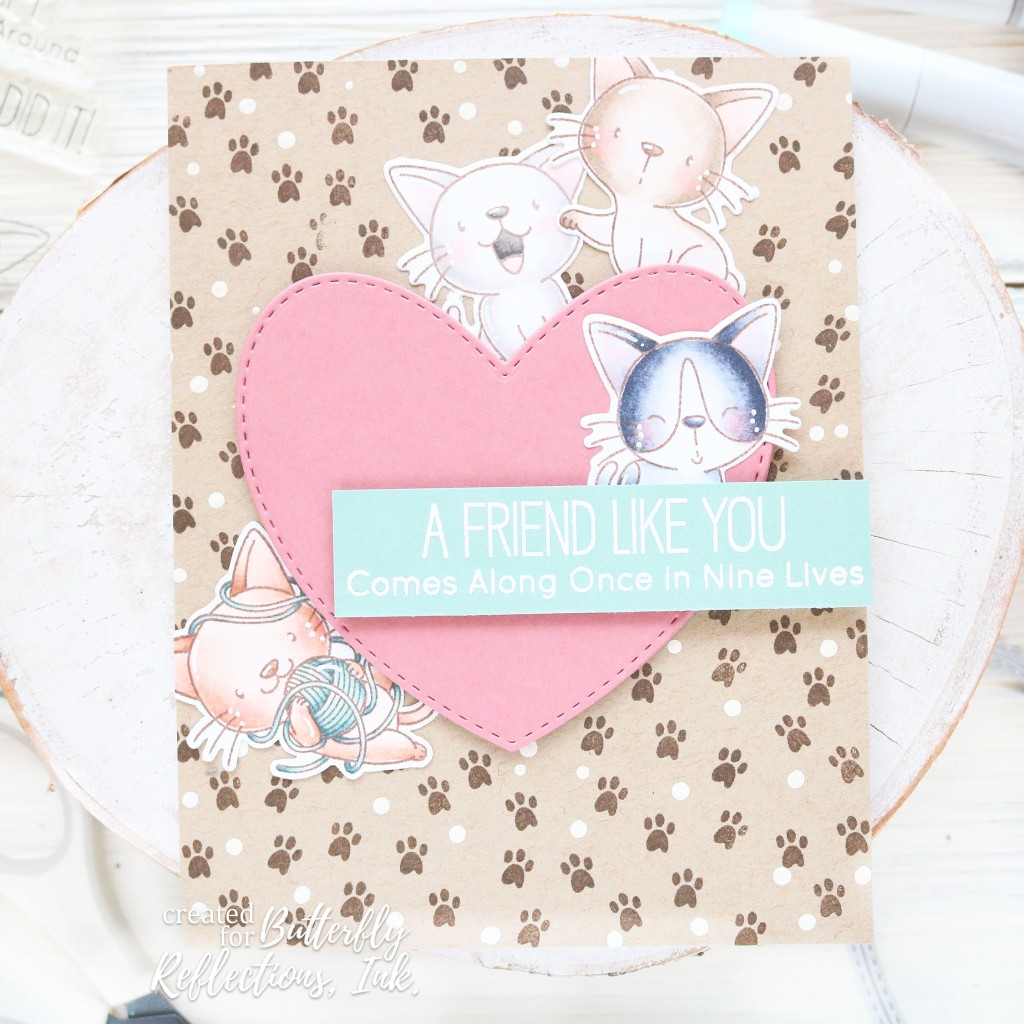
I love the animal stamps that MFT has, and I couldn’t resist using these cats from the Cat-astrophe stamp set. I stamped out four of the cat images from the set using one of my fave brown inks from Catherine Pooler: Icing on the Cake. Then I used my copic markers to color them all in. Every now and then I love the softer lines of the brown ink instead of going with my standard black ink. Once they were colored I used the coordinating dies to cut them out.
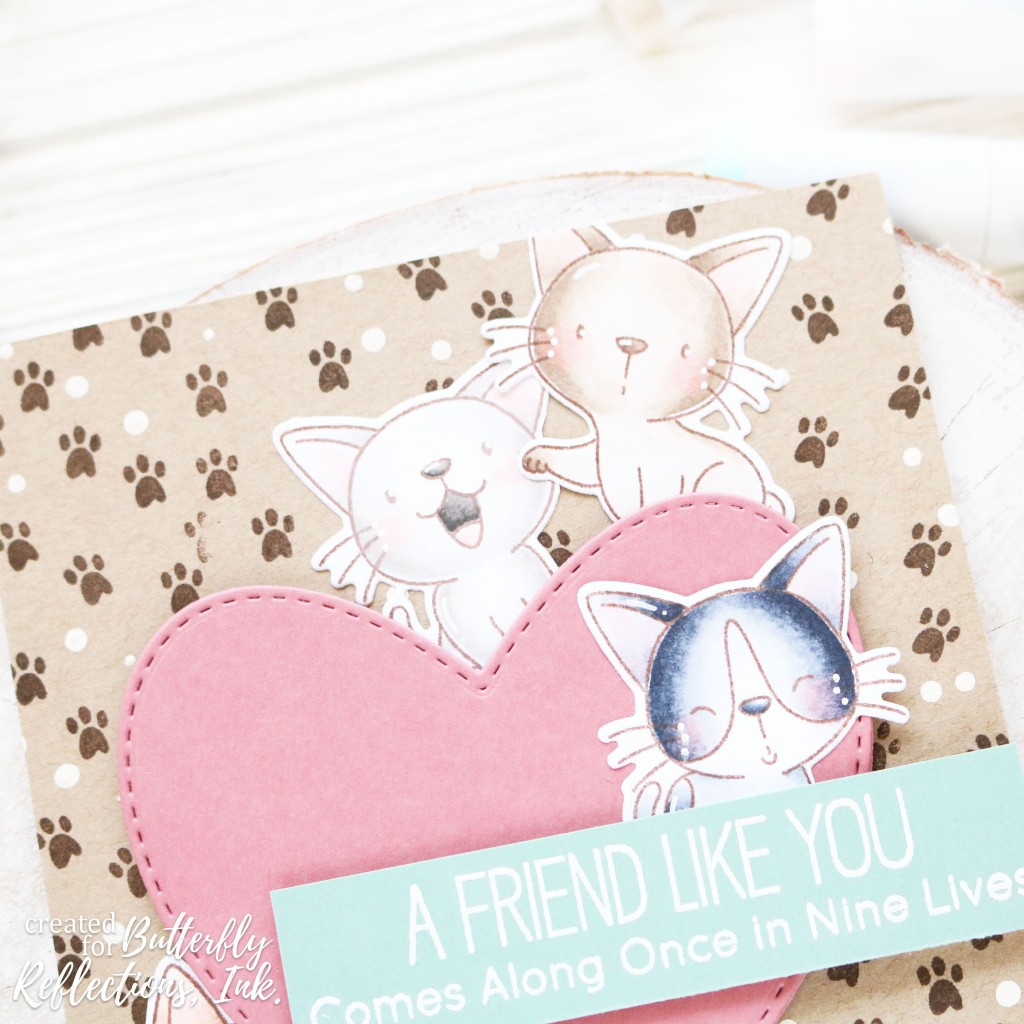
Next I used some colored cardstock and kraft cardstock from Lawn Fawn to create the background and other stamped and die cut pieces. For the background I stamped the paw prints with the same Icing on the Cake ink onto an A2 sized piece of kraft cardstock. I also added some white dots with paint and a dotting tool. I die cut a heart using the Stitched Heart die by Heffy Doodle and some Pencil Eraser cardstock from Lawn Fawn. This is one of my favorite pink cardstocks of all time. And I love the weight of the Lawn Fawn cardstock! Finally I stamped a piece of Sage Leaf cardstock with a sentiment from the Cat-astrophe stamp set with VersaMark ink and heat embossed it with white embossing powder.
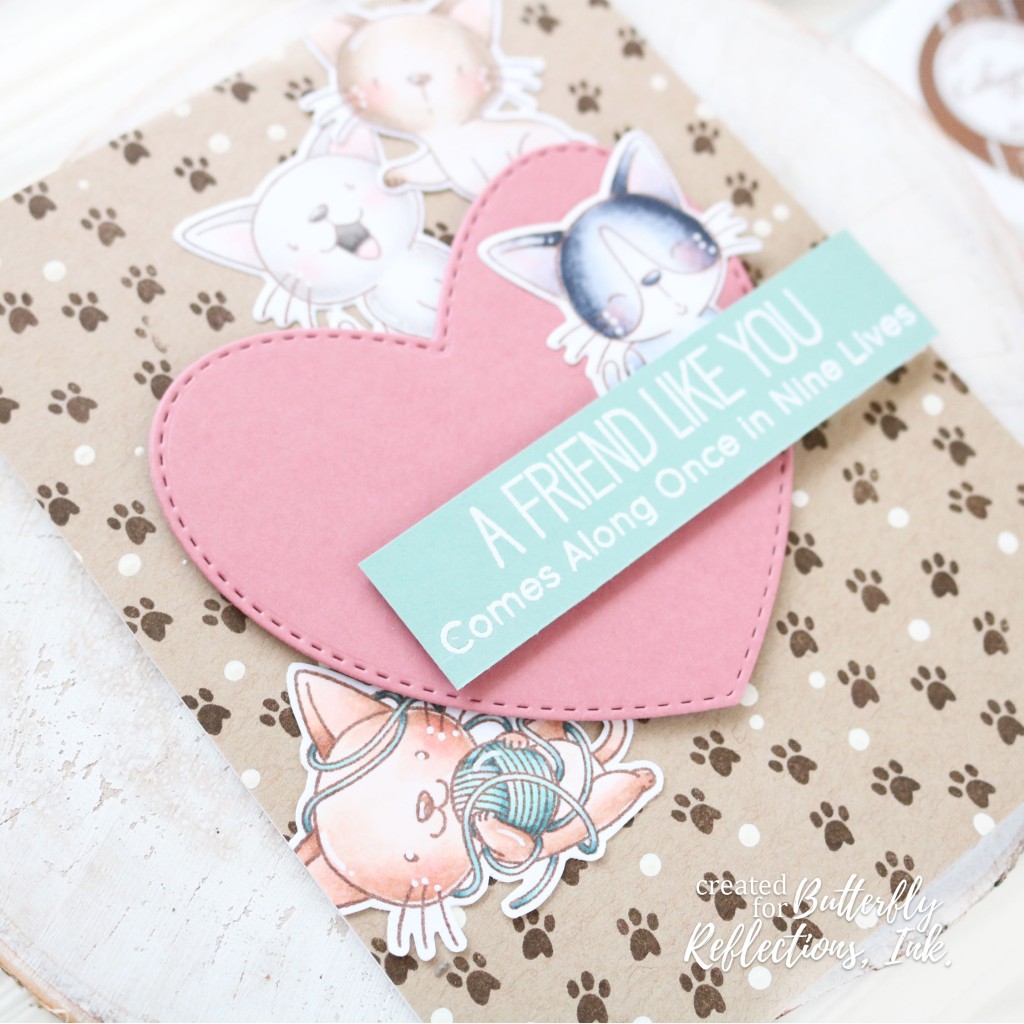
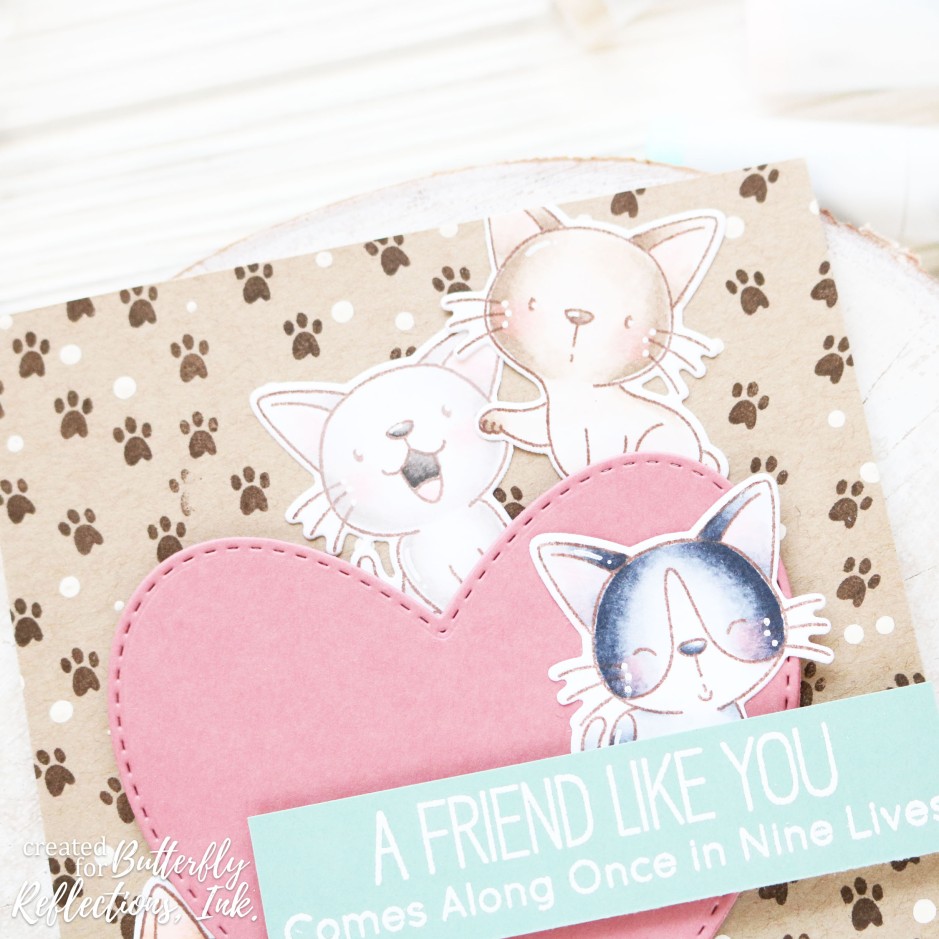
All that was left to do was put the card front together! I added foam tape to the back of the heart and tucked the cats around it, adding the sentiment last. Final touches included some white gel pen dots and accents on the cats and my card was finished! I had so much fun making this card and getting back into one of my favorite hobbies. I was definitely rusty, but I can’t wait to keep creating and sharing my cards with you all! Thank you so much for stopping by, and I’ll see you again soon with another card!





 I started today’s card by stamping the Gingham Backdrops pattern from Lawn Fawn with my Rockin’ Red ink from Catherine Pooler. I didn’t have to worry about lining the stamp up perfectly, because I knew I was going to be covering the middle-ish area with a strip of paper. Next I stamped out some of my fave pizza images from the Pizza My Heart stamp set with the Black Olive ink from Your Next Stamp. I used this ink because it’s my go to for Copic coloring as it doesn’t run or bleed. Next I colored the images up with some simple Copic combos and fussy cut them out.
 Once all those steps were complete I just needed to put the card together and add some finishing touches! I added some white gel pen accents and made the pizza cutter nice and glossy with a thick coat of Glossy Accents. The stripe with all of the elements, as well as the speech bubble, were popped up with foam tape. And that’s it for the second card in my Valentine’s series! I hope you enjoyed it. What is it about making cards with food on them that always leaves me hungry?? I hope I’m not the only one! Thanks so much for stopping by today, and I’ll see you again soon with another card!