MFT – A Friend Like You

Hi everyone! It’s been a while, hasn’t it?! I’m excited to be back sharing cards with you for Butterfly Reflections Ink for the next few months 🙂 Vanessa asked me if I could fill in, and of course I was thrilled to do so and dip my toes back in the card making universe after being absent for so long. Today I have a card to share with you using some of the awesome products found in her shop. Let’s take a look at the card.
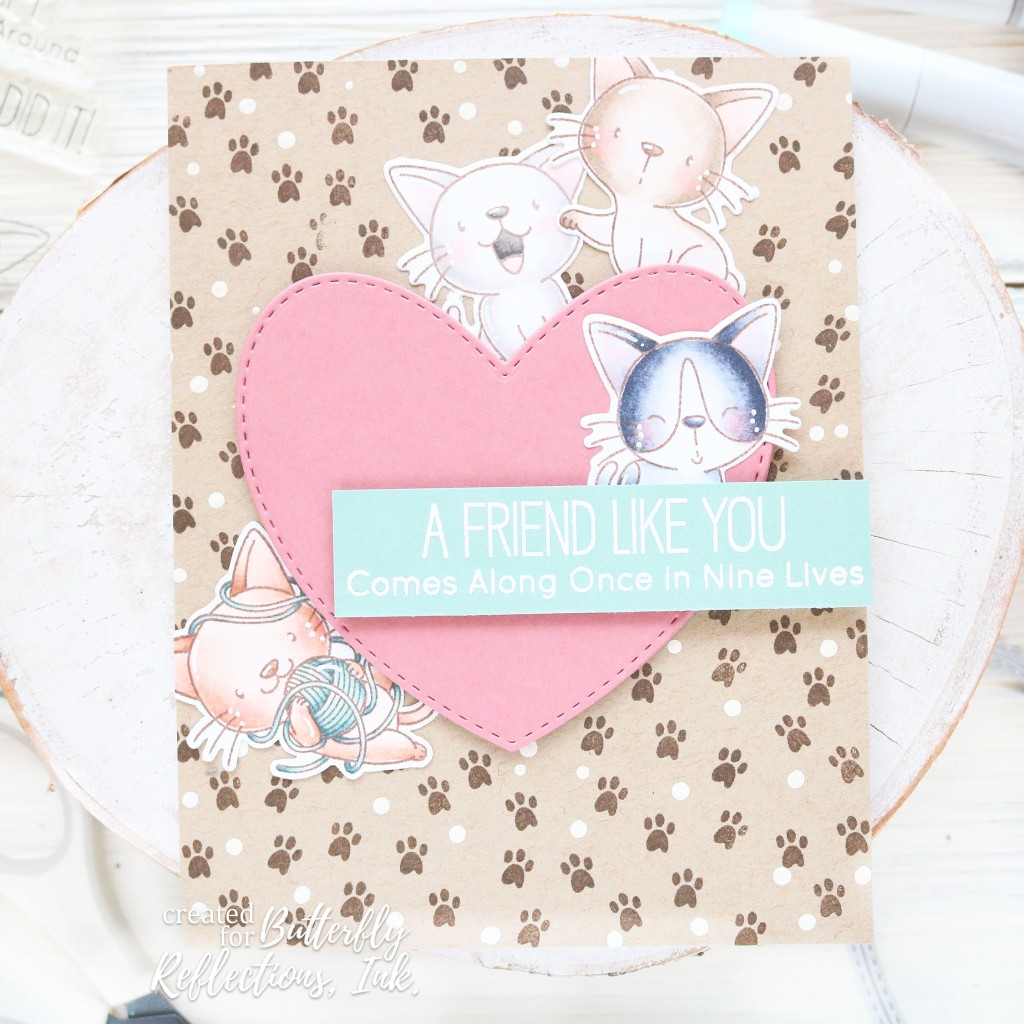
I love the animal stamps that MFT has, and I couldn’t resist using these cats from the Cat-astrophe stamp set. I stamped out four of the cat images from the set using one of my fave brown inks from Catherine Pooler: Icing on the Cake. Then I used my copic markers to color them all in. Every now and then I love the softer lines of the brown ink instead of going with my standard black ink. Once they were colored I used the coordinating dies to cut them out.
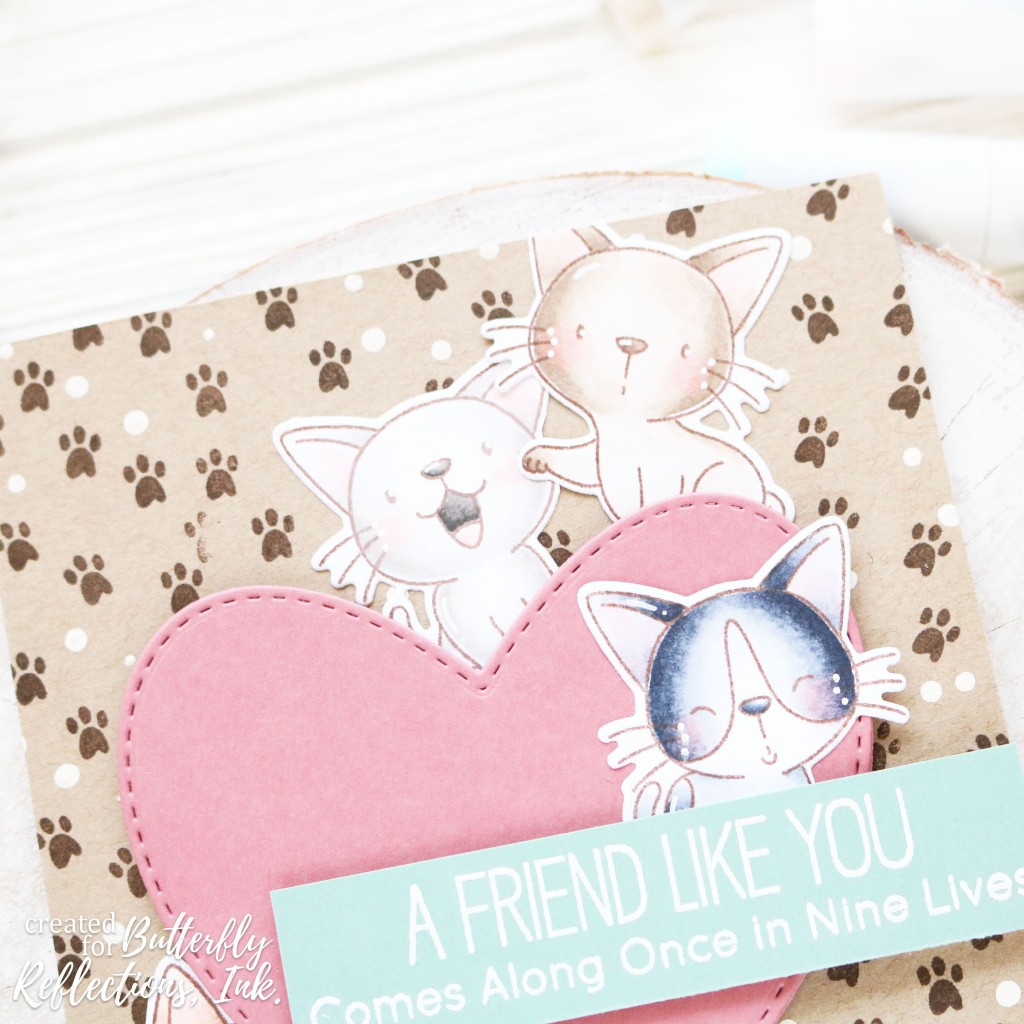
Next I used some colored cardstock and kraft cardstock from Lawn Fawn to create the background and other stamped and die cut pieces. For the background I stamped the paw prints with the same Icing on the Cake ink onto an A2 sized piece of kraft cardstock. I also added some white dots with paint and a dotting tool. I die cut a heart using the Stitched Heart die by Heffy Doodle and some Pencil Eraser cardstock from Lawn Fawn. This is one of my favorite pink cardstocks of all time. And I love the weight of the Lawn Fawn cardstock! Finally I stamped a piece of Sage Leaf cardstock with a sentiment from the Cat-astrophe stamp set with VersaMark ink and heat embossed it with white embossing powder.
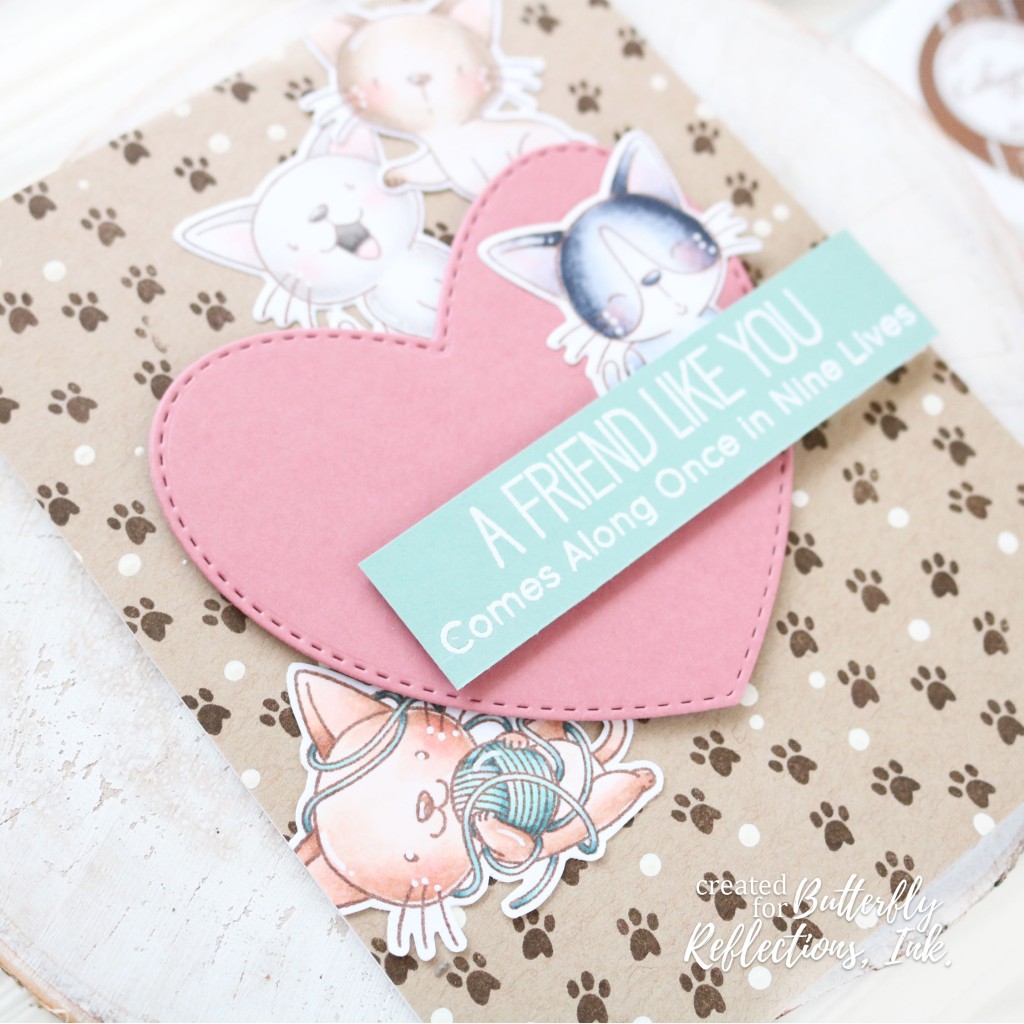
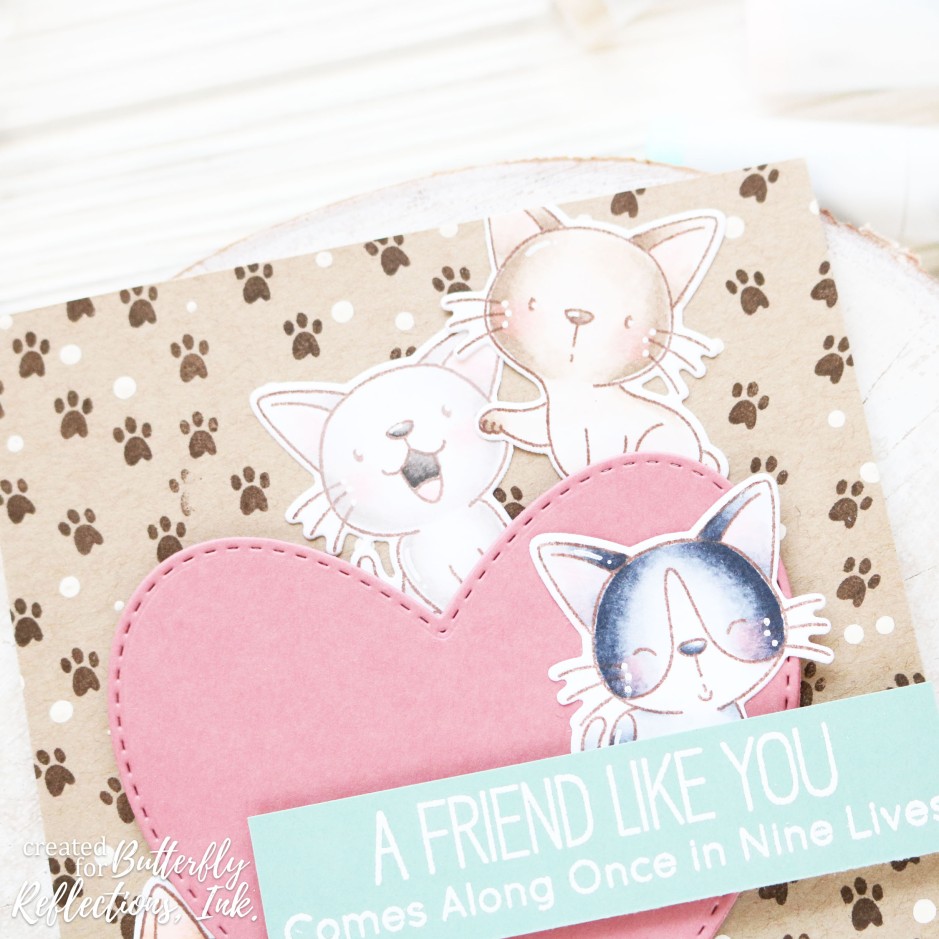
All that was left to do was put the card front together! I added foam tape to the back of the heart and tucked the cats around it, adding the sentiment last. Final touches included some white gel pen dots and accents on the cats and my card was finished! I had so much fun making this card and getting back into one of my favorite hobbies. I was definitely rusty, but I can’t wait to keep creating and sharing my cards with you all! Thank you so much for stopping by, and I’ll see you again soon with another card!

Heffy Doodle Blog Hop!


Hi, all! Welcome to my stop of the Heffy Doodle blog hop! You likely came here from Ali’s post, but if you haven’t seen all the stops along the way be sure to start at the beginning with the Heffy Doodle post!

R8_BlogHop23Jan-01

I’m excited to share a project I made highlighting new release products! All the Heffy Doodle products work so well together so I had to sneak in some oldies 🙂 Let’s jump right in!

IMG_4183

I started the card by die cutting the second largest of the Stitched Heart Dies from a piece of white card stock. Next I took the Quilted Heart Background Die and die cut the heart again with that background die so that it got the quilted pattern. I ink blended some Shaded Lilac Distress Oxide ink over the die cut piece and added some splatter. While I had the Shaded Lilac ink out I also splattered a white A2 size card base.

IMG_4181

I often have colored images all ready to go and this was the case today. I fussy cut a couple images I had stamped and colored from the Otter Side stamp set. I adhered the images to the heart and adhered that to the card base.

IMG_4182

Finally I stamped the sentiment from the Otter Side stamp set with black ink, highlighting part of it with the Shaded Lilac ink. To finish off the card I added a couple white gel pen accents, and that finished off the card!

I hope you enjoyed the card I came up with 🙂 Be sure to check out at all the blog hop stops and leave a comment on each post to be entered for the prize of a Heffy Doodle t-shirt, pencil and £50 voucher to the Heffy Doodle store!! A winner will be selected randomly and announced on the HD blog on January 30th.

Your next stop is: Channin Pelletier🙂 Enjoy the rest of your day!

Complete Hop List:

Heffy Doodle Blog
Olga Moss
Jessica Frost Ballas
Zsofia Molnar
Ali Farmer
Cassie Tezak
Channin Pelletier
Cassie Trask

25 Tags of Christmas!

Image may contain: text

Hi, everyone and welcome to my post for 25 Tags of Christmas! I’m so excited to be a part of this fun event. There are tons of projects on the Heffy Doodle blog, so be sure to head over there as well! If you want to see all the awesome tags that have been made by other companies teams be sure to head to Tracy’s blog as she’s put this awesome project together!

IMG_4013

I used the Heffy Doodle Mark My Words Die to create my tag. I thought it would be a fun and unique tag shape. To decorate the tag I stamped lots of the Santa’s Village images and colored them. To make it fun and sparkly I added tons of iridescent glitter to the images as well.

IMG_4014

I also stamped out a sentiment from Elfing Christmas Words and heat embossed it. Final touches were adding some white gel pen accents and black and white twine. I hope you enjoyed the tag for the day! Be sure to head over to the Heffy Doodle blog to see the rest of the inspiration from the team. Thanks so much for stopping by today!

Heffy Doodle New Release Hop!

HeffyFriendsHopJuly19.jpg

Hi, everyone! Welcome back to the blog! Today I’m sharing a card for the Heffy Doodle new release blog hop. The release is available now, and you’re going to want to get your hands on everything! There is so much cuteness in this release. You’re going to love it 🙂 Let’s jump right in to it!

IMG_3773

How sweet is all this?? I used the adorable new Absotoothly Awesome stamp set and the umbrella from Quack Me Up for my main images. I also used the Sunshine die and new Rascal Alphabet stamps and dies to create my own sentiment.

IMG_3775I also used the Rain on My Parade stencil with the Silver Linings cloud dies to create the background. I just love how this all paired together!

IMG_3781

And that’s my card for the hop! I hope you enjoyed it. Be sure to keep hopping and leave comments on the posts to enter yourself for a chance to win a certificate to the Heffy Doodle shop!

Here’s the line up – make sure you didn’t miss anyone!

Heffy Doodle

Ali Farmer

Isha Gupta

Cassie Tezak

Tallie Clewley

Kelly Martin

Jessica McAfee

Lesley Oman

My Hero Tag

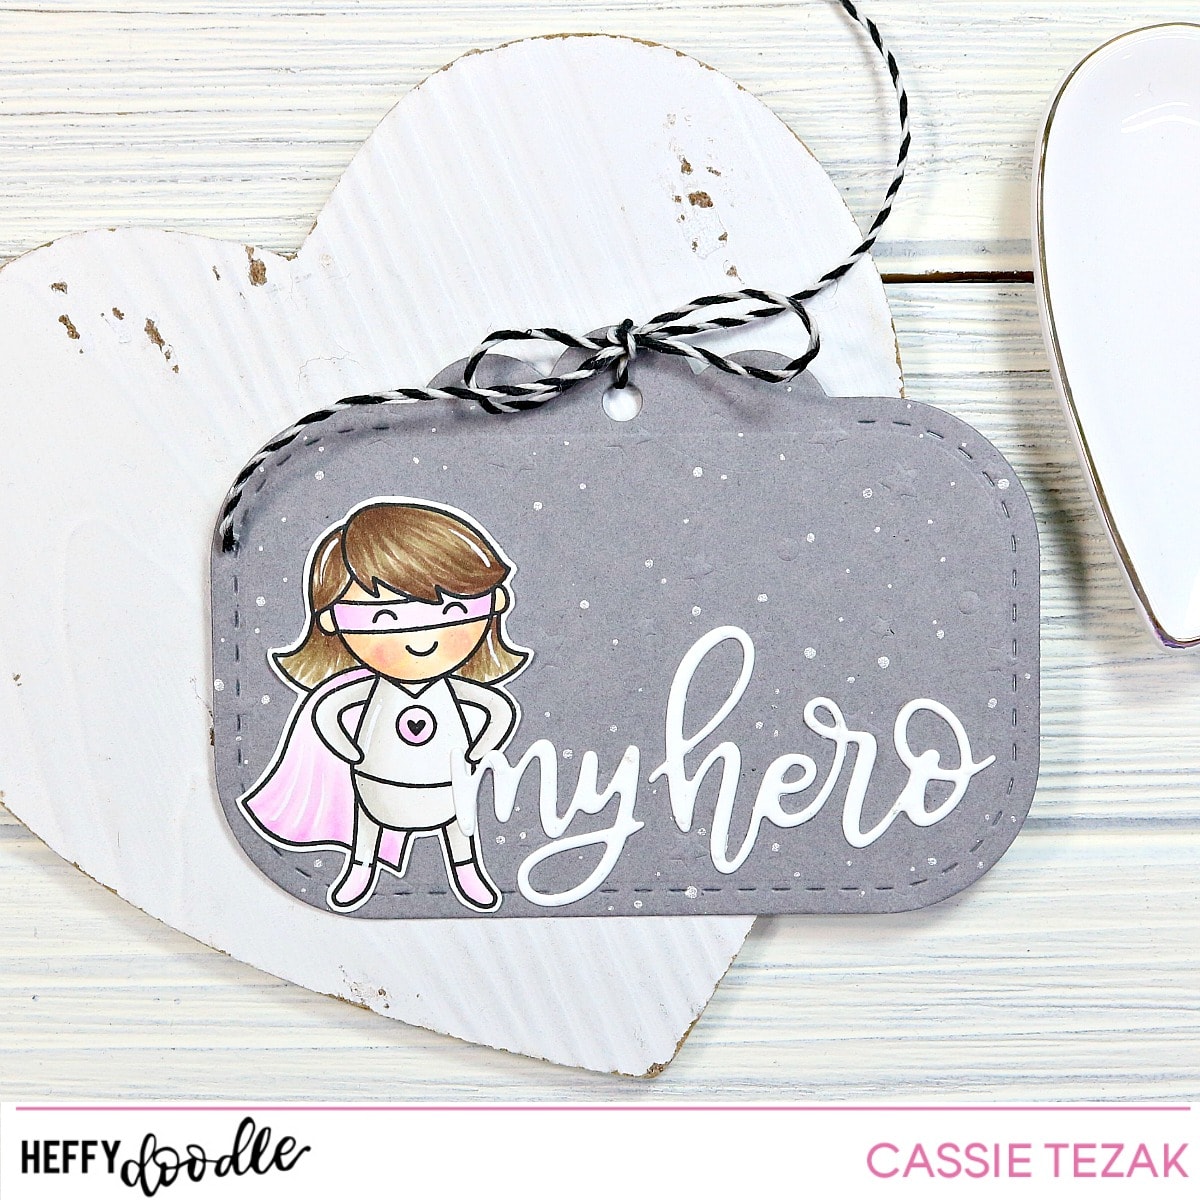
Hi, everyone! It’s Cassie here, and I’m sharing a cute tag I made that would make anyone smile. Who doesn’t love to hear that they’re your hero?? Let’s jump right in.

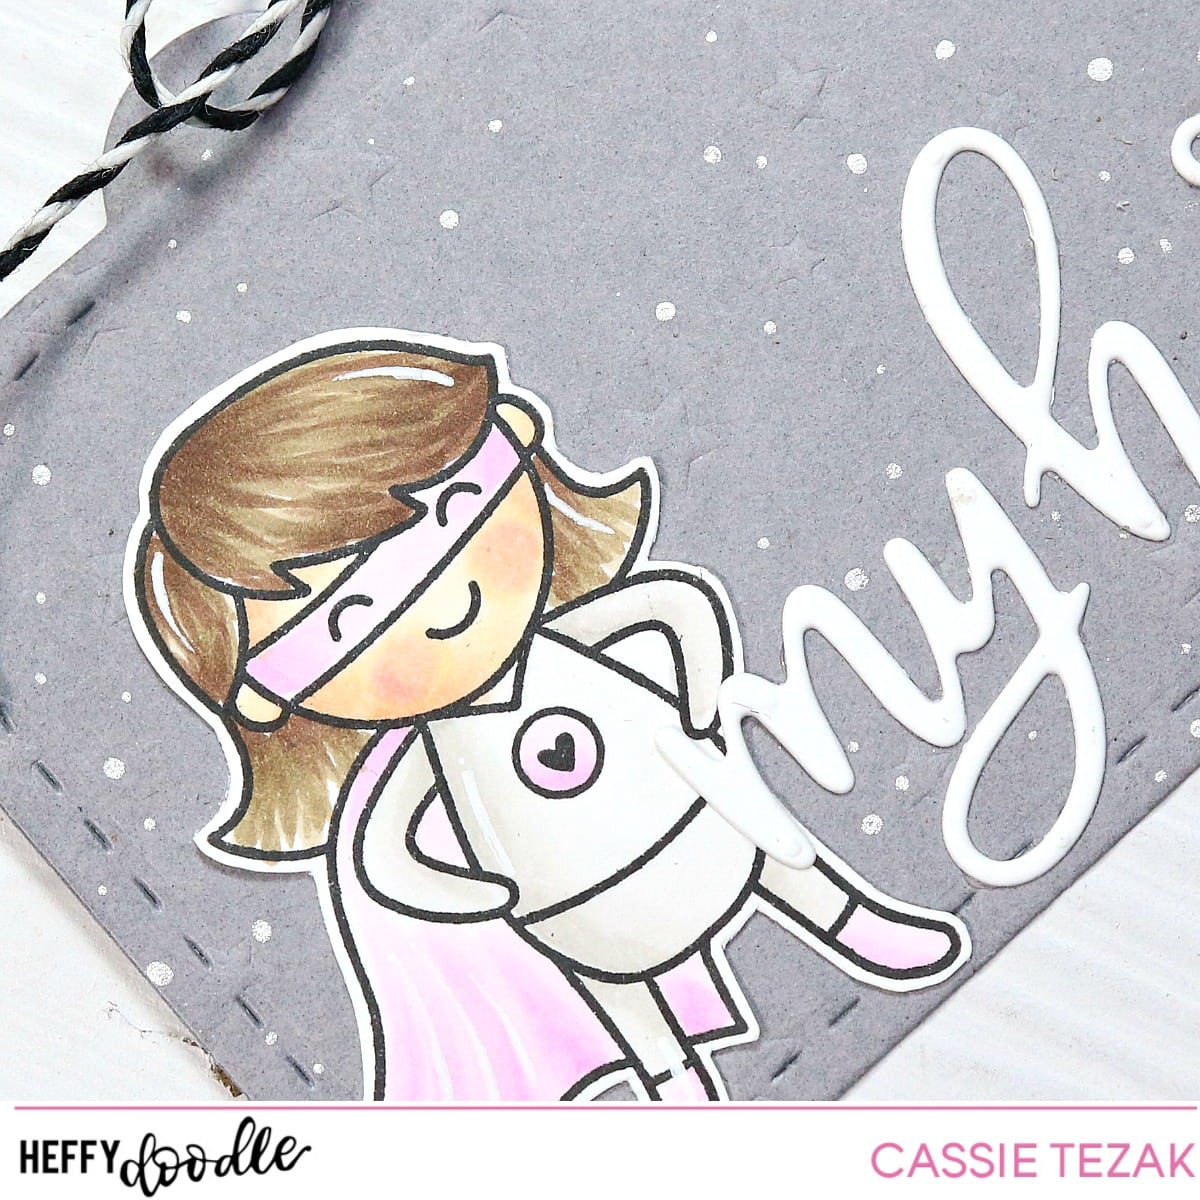
I die cut the tag from the Tag Along die set. Then I ran the tag through my die machine with an embossing pad and the Starfall Stencil to get that fun and subtle  embossed background. It’s a little difficult to see in the photos, but really cute in real life. I also stamped out the cutie super hero from the Superdudes stamp set and colored her in with my Copics. I fussy cut her out and adhered her to the tag.

I went with soft colors to go with the gray tag. Then I added some silver dots with a gel pen. Finally, I die cut the My Hero word dies and adhere them on my tag. I think I’ll be sending this off to a friend who needs a pick me up this week! My finishing touches were to add white gel pen accents to the girl, and some black and white twine to the top. And that was it! Thanks so much for stopping by today. I hope you enjoyed the card! I’ll see you again soon with another one!

Heffy Doodle & Chibitronics Collab!

Hi, everyone. I’m super excited to share a card I made for today’s post with you. It features products from both Heffy Doodle and Chibitronics! We were super lucky to be able to team up with the Chibitronics team and make some awesome cards for this hop. You can win a Chibitronics Starter kit and a £50 Heffy Doodle gift certificate! Two winners will be chosen May 6th 🙂 Here’s the fun card I came up with.

IMG_3573

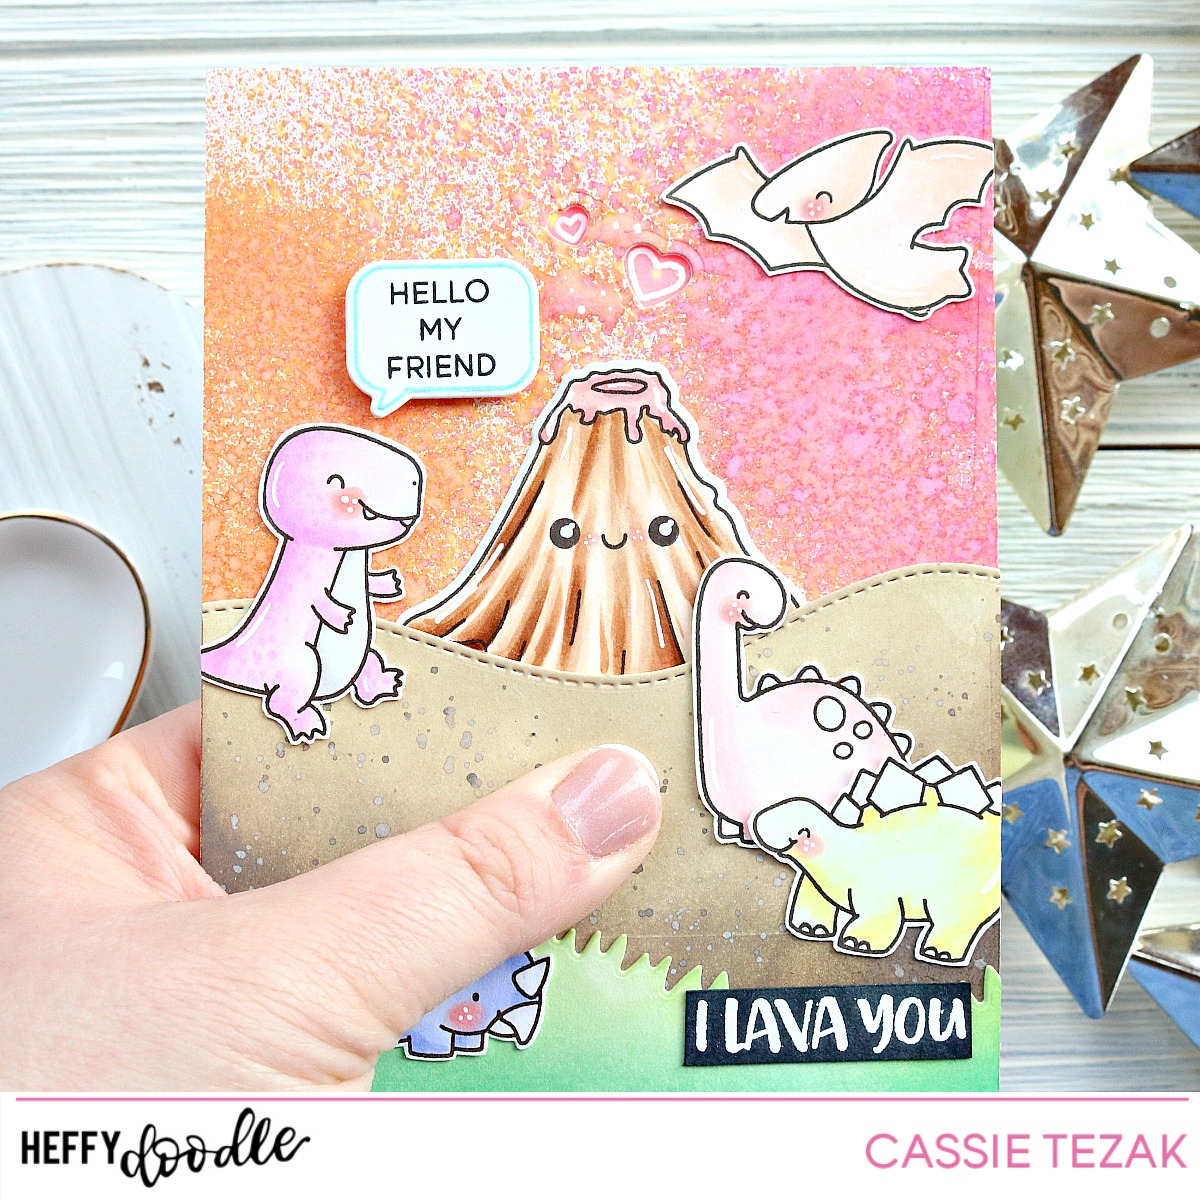
I started the card by planning out my circuit. This meant I drew a rough sketch of my card and then started creating the card. I used my Distress Oxide Sprays to create the background. This was fun, and super easy. I just sprayed Worn Lipstick, Spiced Marmalade and Fossilized Amber over an A2 card base and that was it! I let the sprays do there thing, and completely dry before I came back to die cut the hearts from it.  Once the hearts were die cut I took a piece of vellum and my Misti and stamped the hearts from Eggcellent News and heat embossed them with white embossing powder. Beneath the hearts is where I put my Chibitronics red light bulbs from the starter kit. The starter kit has everything you need to make your first light up design!

IMG_3577

I made sure to get my copper tape circuit right where I needed it to be to get the lights to work, and did a lot of testing before I moved on to make sure I wasn’t going to run into any problems after the card was put together. Then I added foam tape around the battery and card base so as to give the battery room so that the lights weren’t on all the time.

I used the Grassy Lass border dies and Stitched Slopey Joes border dies to create some dimension below the volcano that I stamped from the Geology Rocks stamp set. I also stamped out all of the dinosaurs from the Dino Time stamp set. These cuties just go so well with the volcano-I couldn’t pass up using them to finish my scene!

IMG_3578

I also couldn’t resist adding a speech bubble from the Whatcha Sayin stamp set for the T-Rex. Too cute! I finished the card by heat embossing the sentiment “I Lava You” and adhering it to the bottom of the card.

IMG_3579

All right! That’s it for my card, but be sure to hop along to the rest of the projects and leave some comments for your chance to win! Thanks so much for stopping by today! I hope you enjoyed my project and get inspired to make some cool light up cards 🙂 I’ll see you again soon with another card!

Heffy Doodle

Koren Wiskman

Kelly Griglione

Jessica McAfee

Wei Wei Wang

Francesca Vignoli

Yukiko Sugiyama

Isha Gupta

Eiko Uchida

Ali Farmer

Kelly Szafron

Cassie Tezak

Vanessa Reinheimer

Yukiko Inami


Hip Hip Hoo-ray!

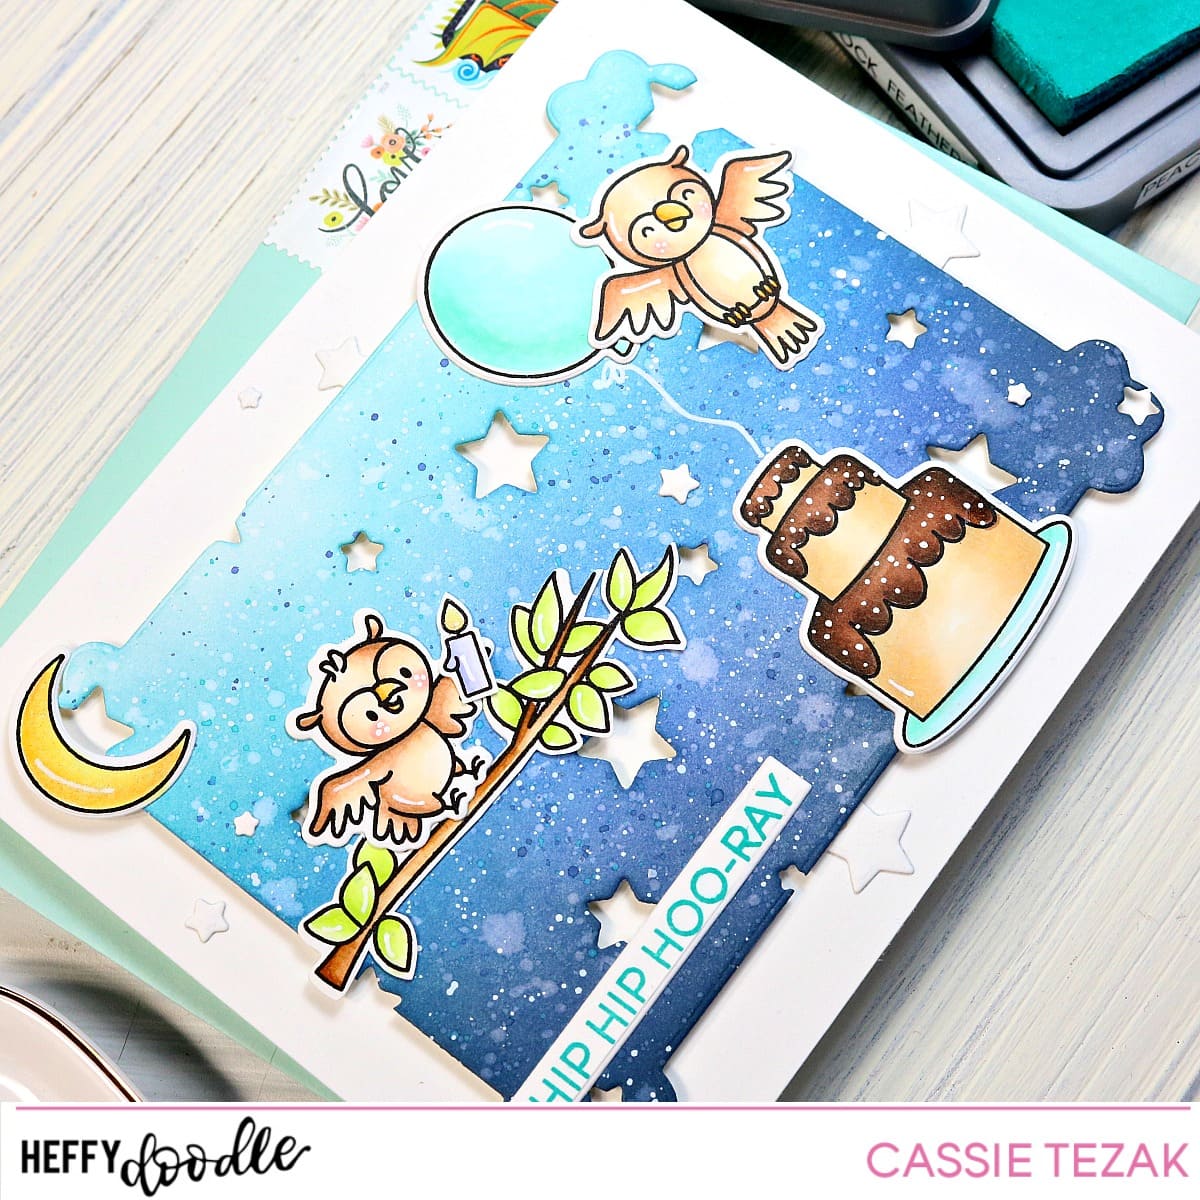
Today I’m sharing a cute birthday card highlighting the Hootiful stamp set and some awesome Heffy Doodle dies!

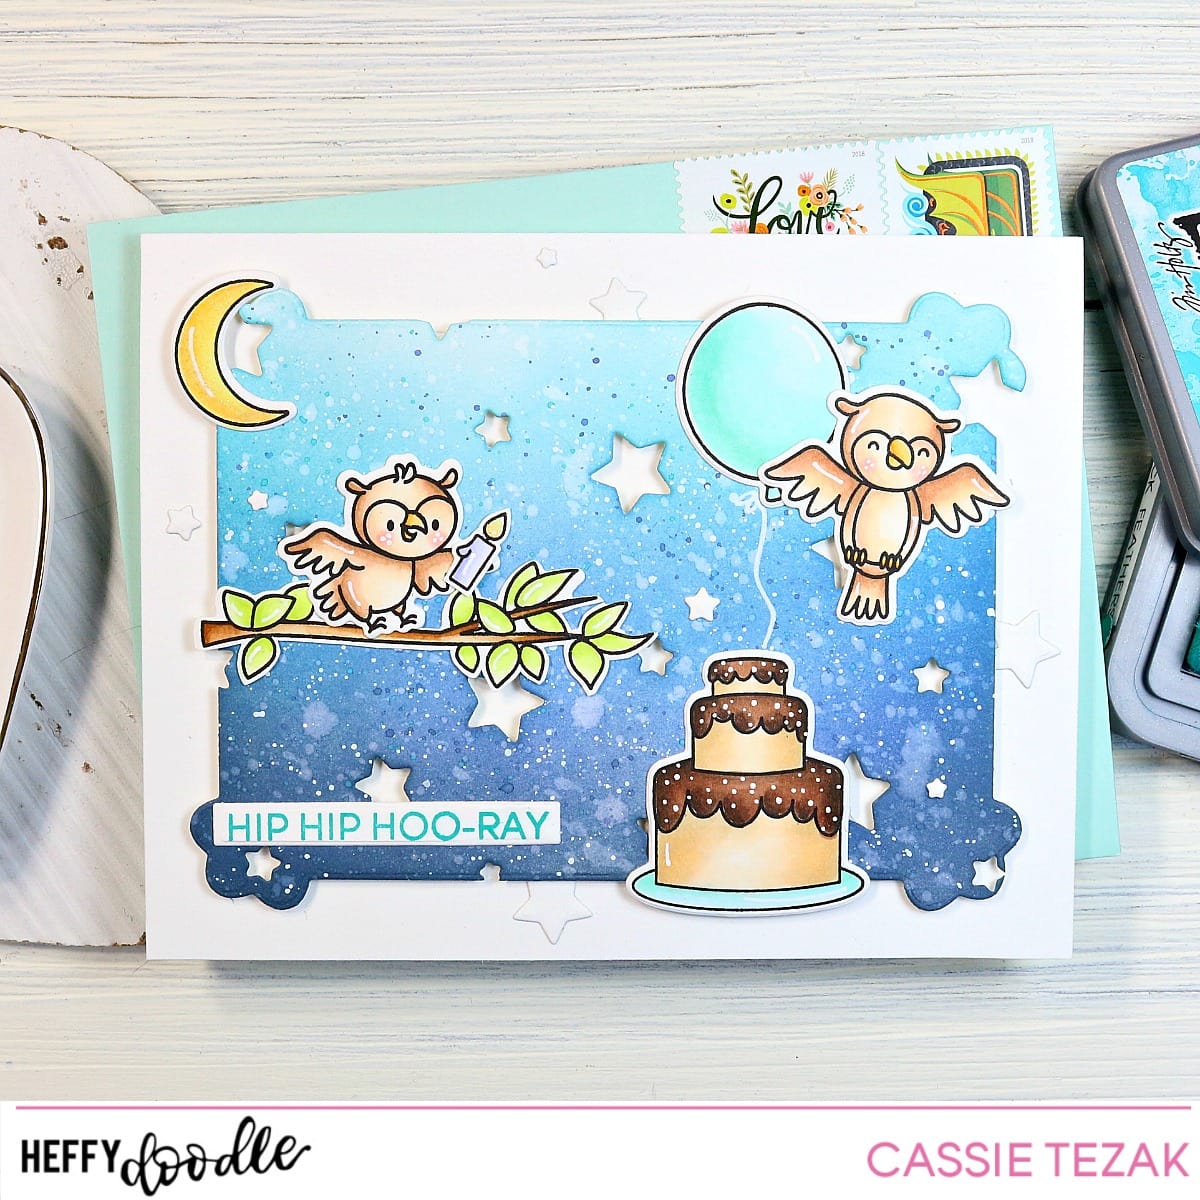
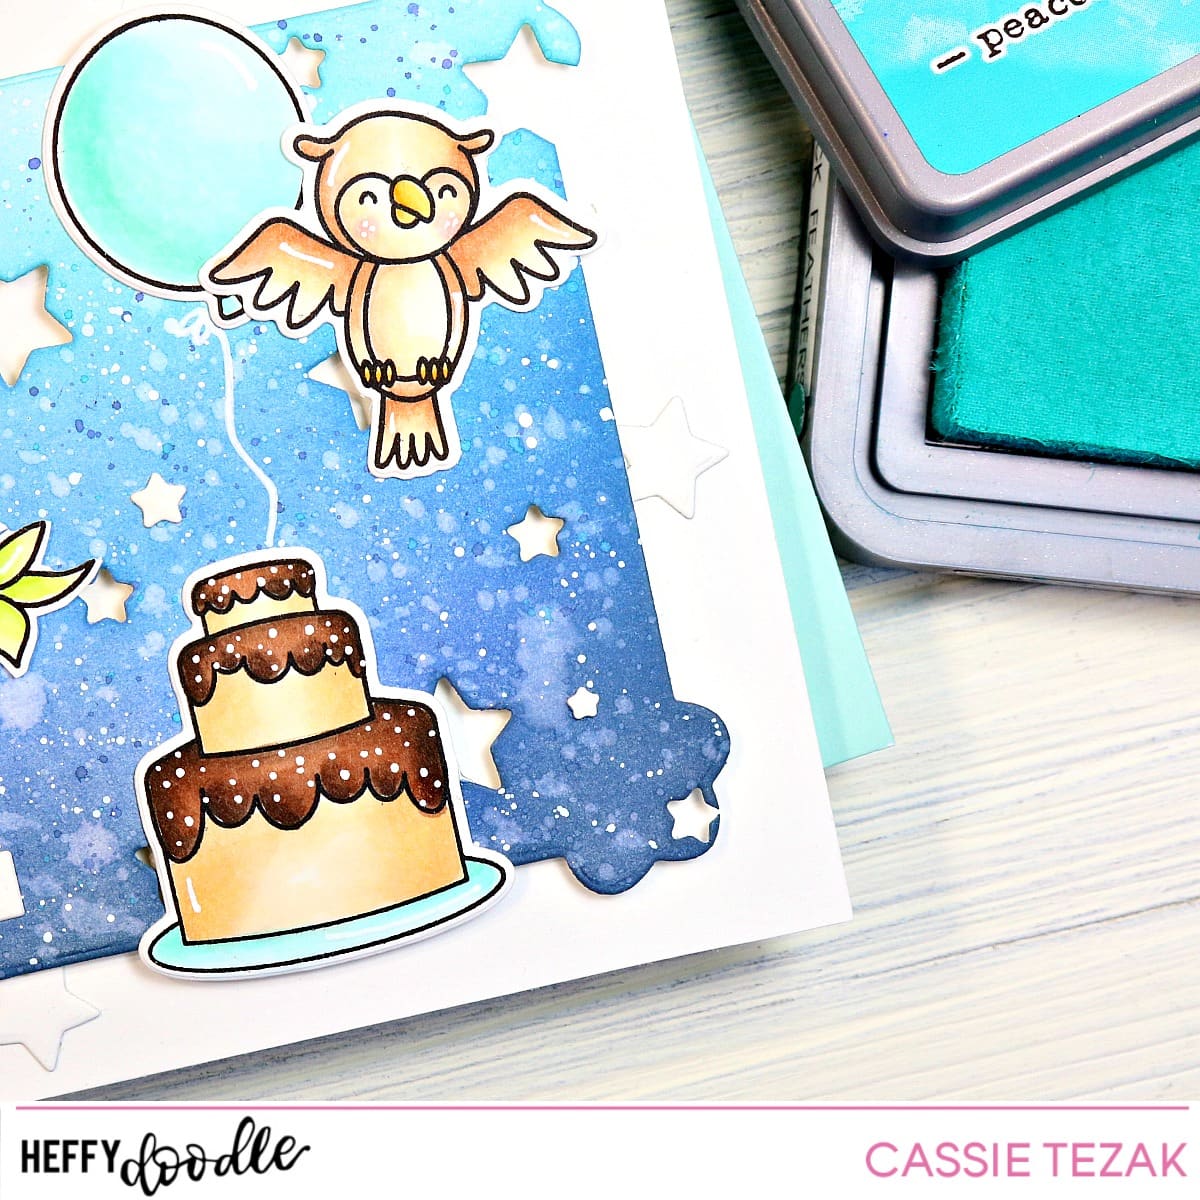
Hello, crafty friends! It’s Cassie here, and I’m back today to share a birthday card I made for someone in my family. I wanted it to create a cute night sky with the scalloped die from the Clover Frames die set, as well as the Stargazer Backdrop die. I started by die cutting the Stargazer die first. Then I die cut the scalloped rectangle from it. By doing that die second I was able to be more precise about where the stars fell around the edge of the rectangle. Once the piece was cut out I was able to ink blend over the piece of card stock. I used Black Soot, Chipped Sapphire, Faded Jeans and Peacock Feathers to create the night sky. I splattered some of each other colors over the panel, as well as some white paint. Then I set it aside to dry.

Next I stamped out images from the Hootiful stamp set as well as the Party Palooza stamp set to create my scene. Everything was colored in with my Copic markers and die cut with the coordinating dies. I adhered everything down with some liquid adhesive, adding some cute gel pen details to the images.

I stamped out the sentiment ‘hip hip hoo-ray’ from the Hootiful stamp set and trimmed it out with the smallest Strips of Ease die. That was also adhered down to the card with liquid adhesive. I had some of the stars on my desk from die cutting the Stargazer Backdrop die and decided to adhere them around the outside edge of the card for some added texture and detail. And that was it! Birthday card complete! I hope you enjoyed the card I created for today. Thanks so much for stopping by, and I’ll see you again with another card!

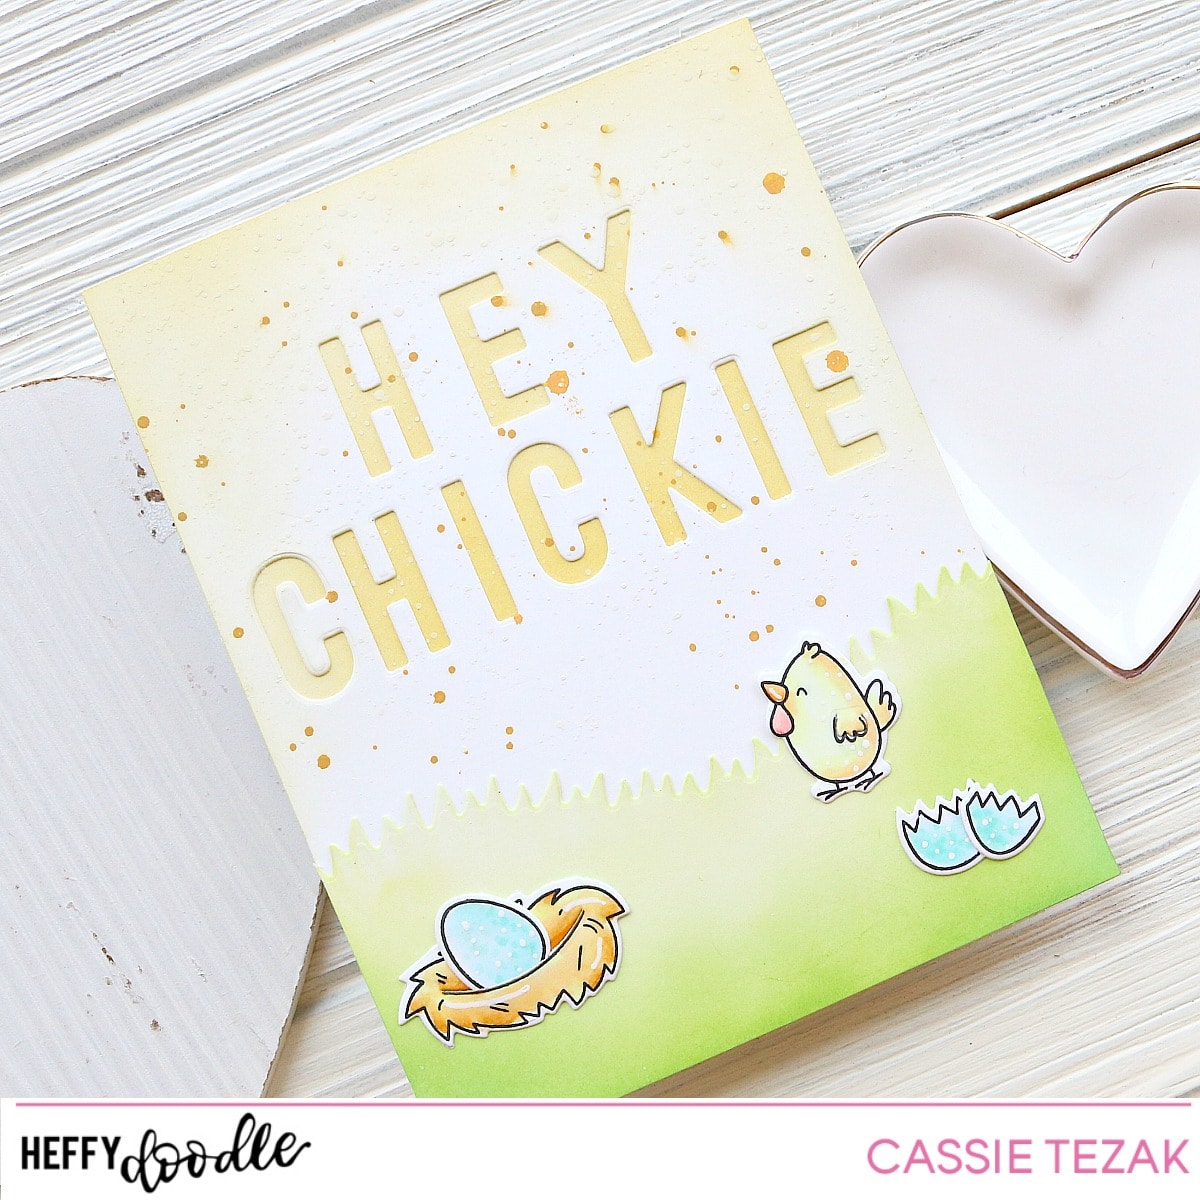
Hey, Chickie

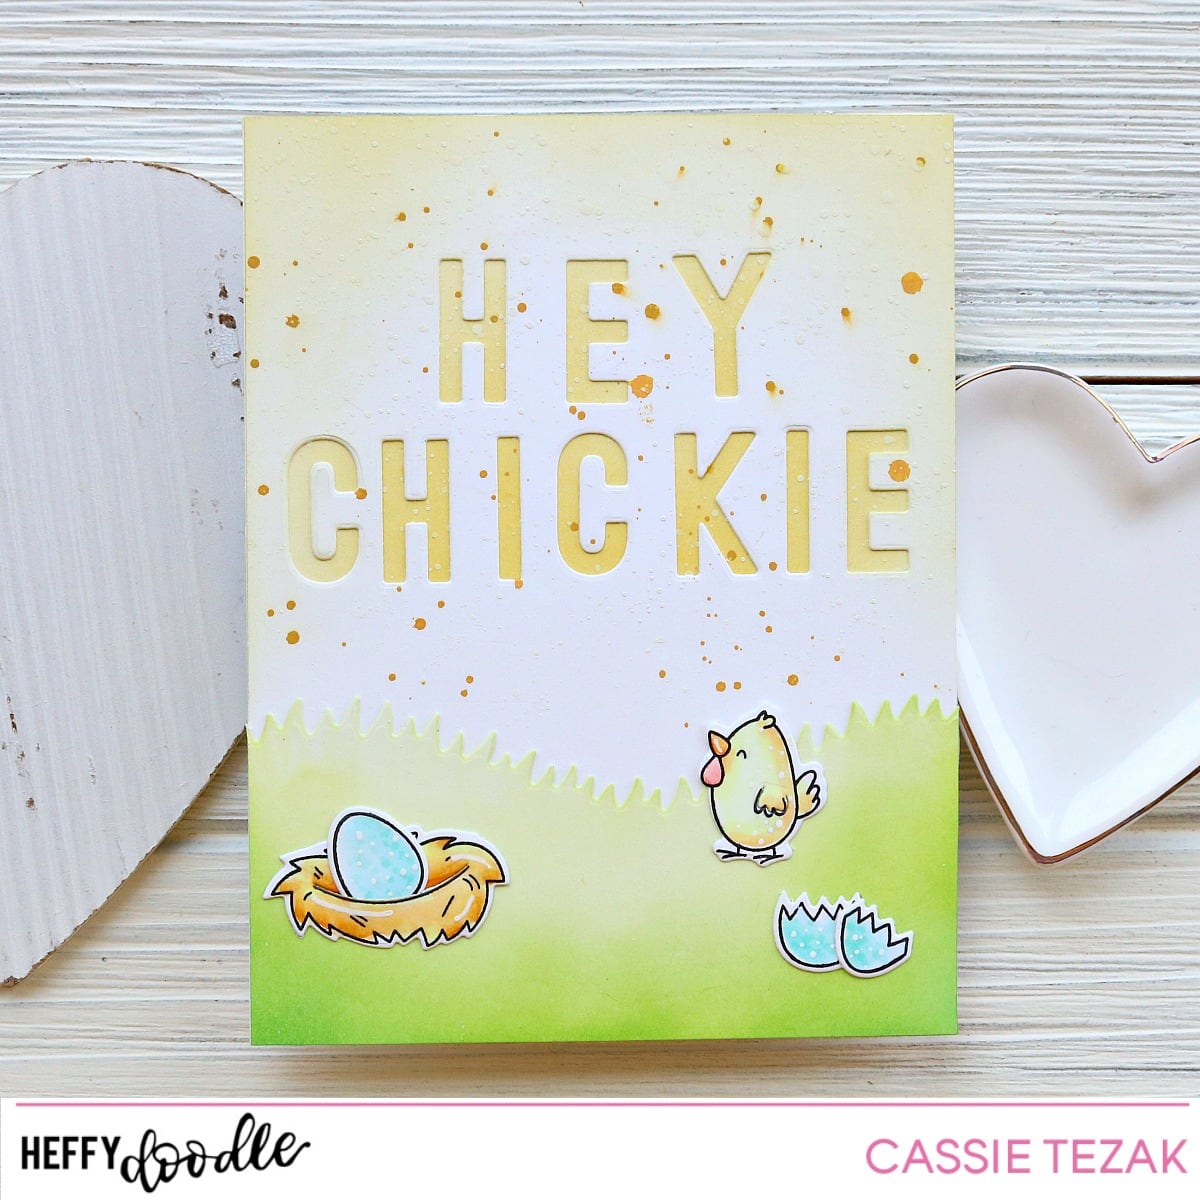
Hi, crafty friends! II’m back to share a cute spring card with you that I made for the HEffy Doodle blog today. Let’s get started!

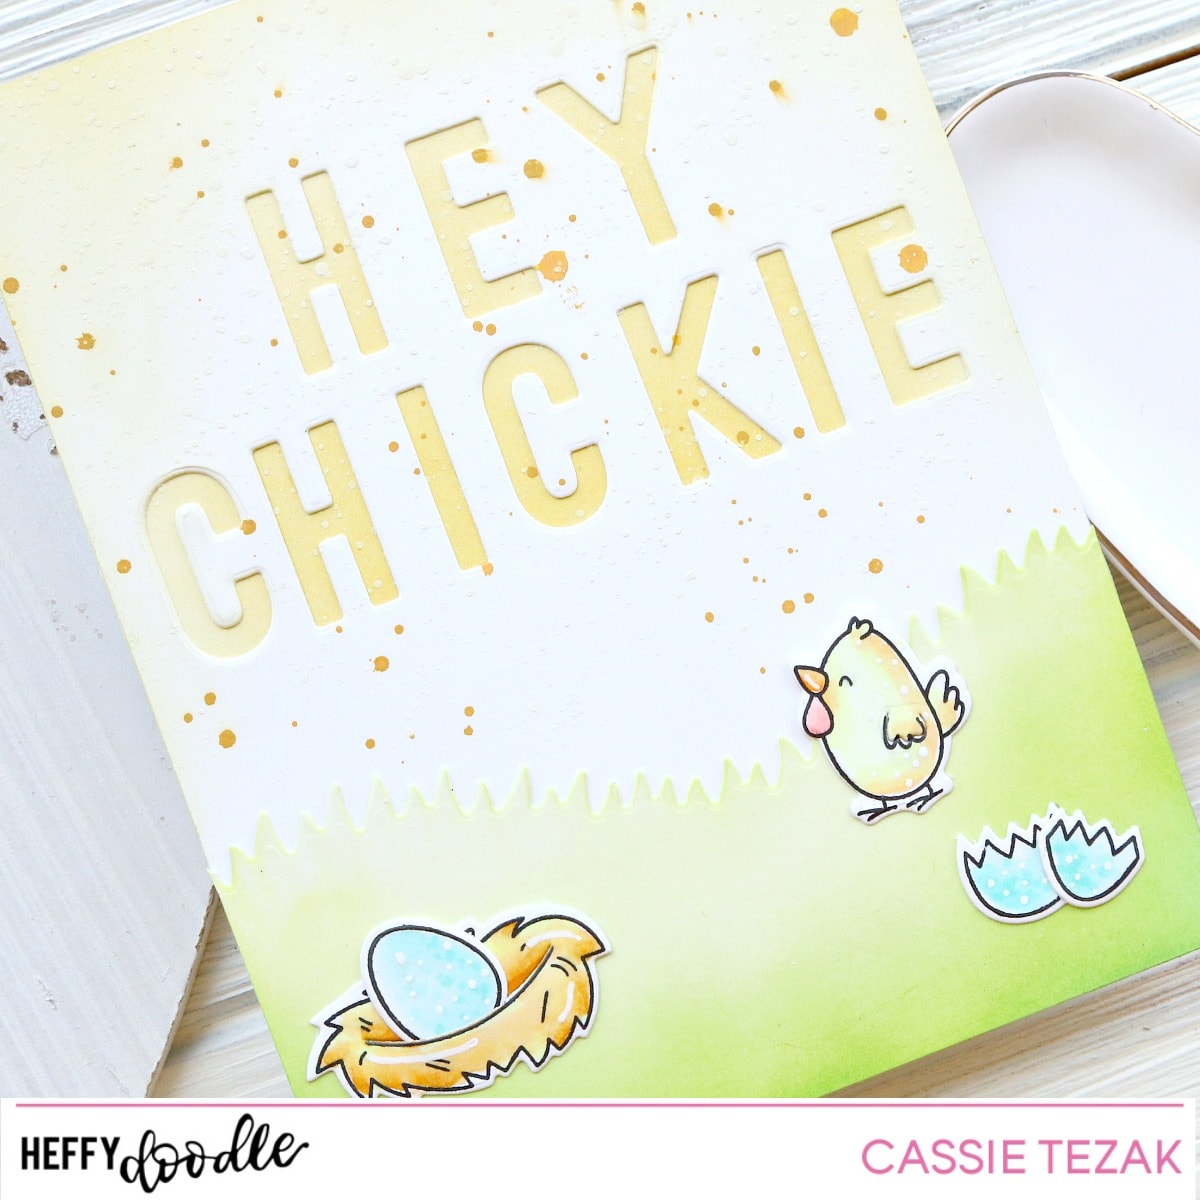
I started the card for today by die cutting my sentiment “hello chickie” with the Stitched Alphabet Dies from an A2 size card panel. This took a little maneuvering, just because I only have one of each letter and there are doubles in the sentiment, but it wasn’t too difficult to get the spacing pretty close to even! Once that was die cut I ink blended the front of a card base with Fossilized Amber ink and adhered the panel with the die cut letters over top so that the yellow showed through.

I also ink blended some Fossilized Amber Distress Oxide ink over the corners of the front panel, as well as splattered from of the Distress Oxide spray over it in the same color. Next I moved on to the scene. I die cut a little hill of grass with the Grassy Lass dies from some 110 lb white card stock and ink blended Mowed Lawn and Twstited Citron over it to give it some color. Then I stamped out images from the  Eggcellent News stamp set. I colored those images in with my copics, adding some white gel pen details to each of them. Then I die cut them out with coordinating dies!

Finally, I adhered the die cut images to the card and it was complete! This card came together really quickly, and I think you could do a set of them in lots of springy pastel colors! It’d be so cute. Thank you so much for stopping by today! I’ll see you again soon with another card!

To Some Bunny Awesome

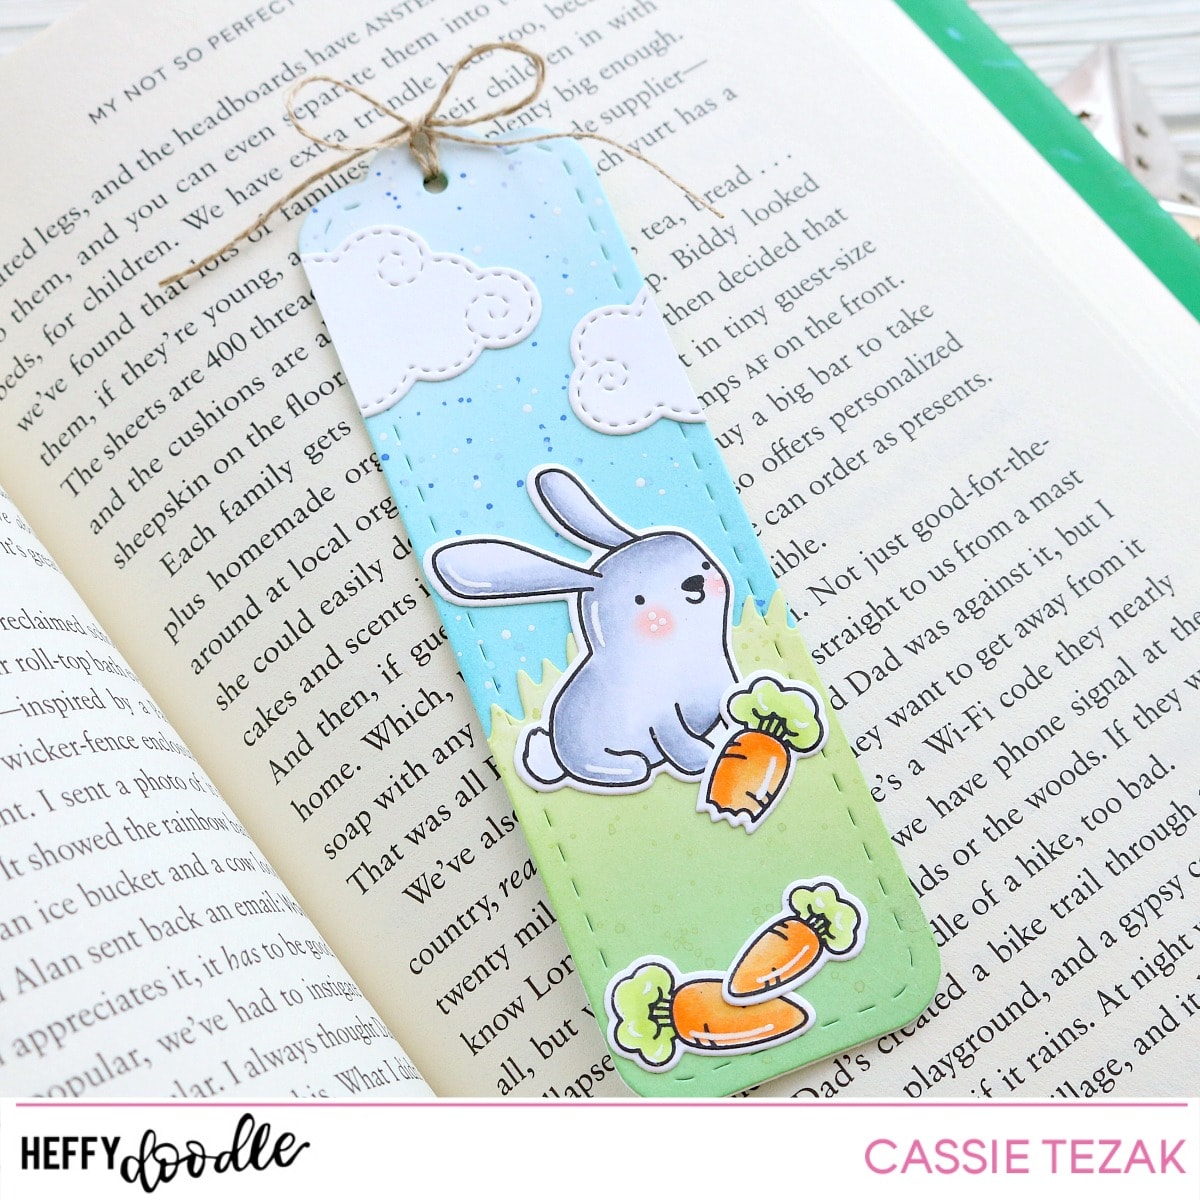
Hi, everyone!  I’m back to share my project for today. I decided it was time to use the Mark My Words bookmark dies. I have a lot of family and friends who I know are going to love getting some adorable bookmarks with these dies! For today’s bookmark I decided to go with a spring/Easter theme.

I started by die cutting three of the same bookmark shapes. There are two designs in the set, but I wanted to use some twine on mine, so I went with the one that had the hole at the top. On one of the bookmarks I ink blended Broken China and Tumbled Glass Distress Oxide over it. Then I splattered it with Blueprint Sketch and Milled Lavender Distress Oxide that I’d watered down a little. Over the second book mark I ink blended over the entire die cut piece with some Distress Oxide that I’d mixed myself with reinkers. Finally, for the last bookmark, I used the Grassy Lass Border dies to cut the bottom off. Then I ink blended Twisted Citron and the hand mixed green-ish color I used for the back side. All three pieces were set aside to dry completely while I worked on the other pieces.

I stamped out the bunny and carrots from the Honey Bunny Boo stamp set and colored them in with my Copic markers. Then I die cut them out with the coordinating dies and added some white gel pen details. I adhered the grass bookmark bottom to the blue bookmark, as well as the bunny and carrots. I decided I didn’t like how empty the top was, so I went ahead and die cut some of the Swirly Clouds and adhered them down, trimming off the part that hung over the edge.

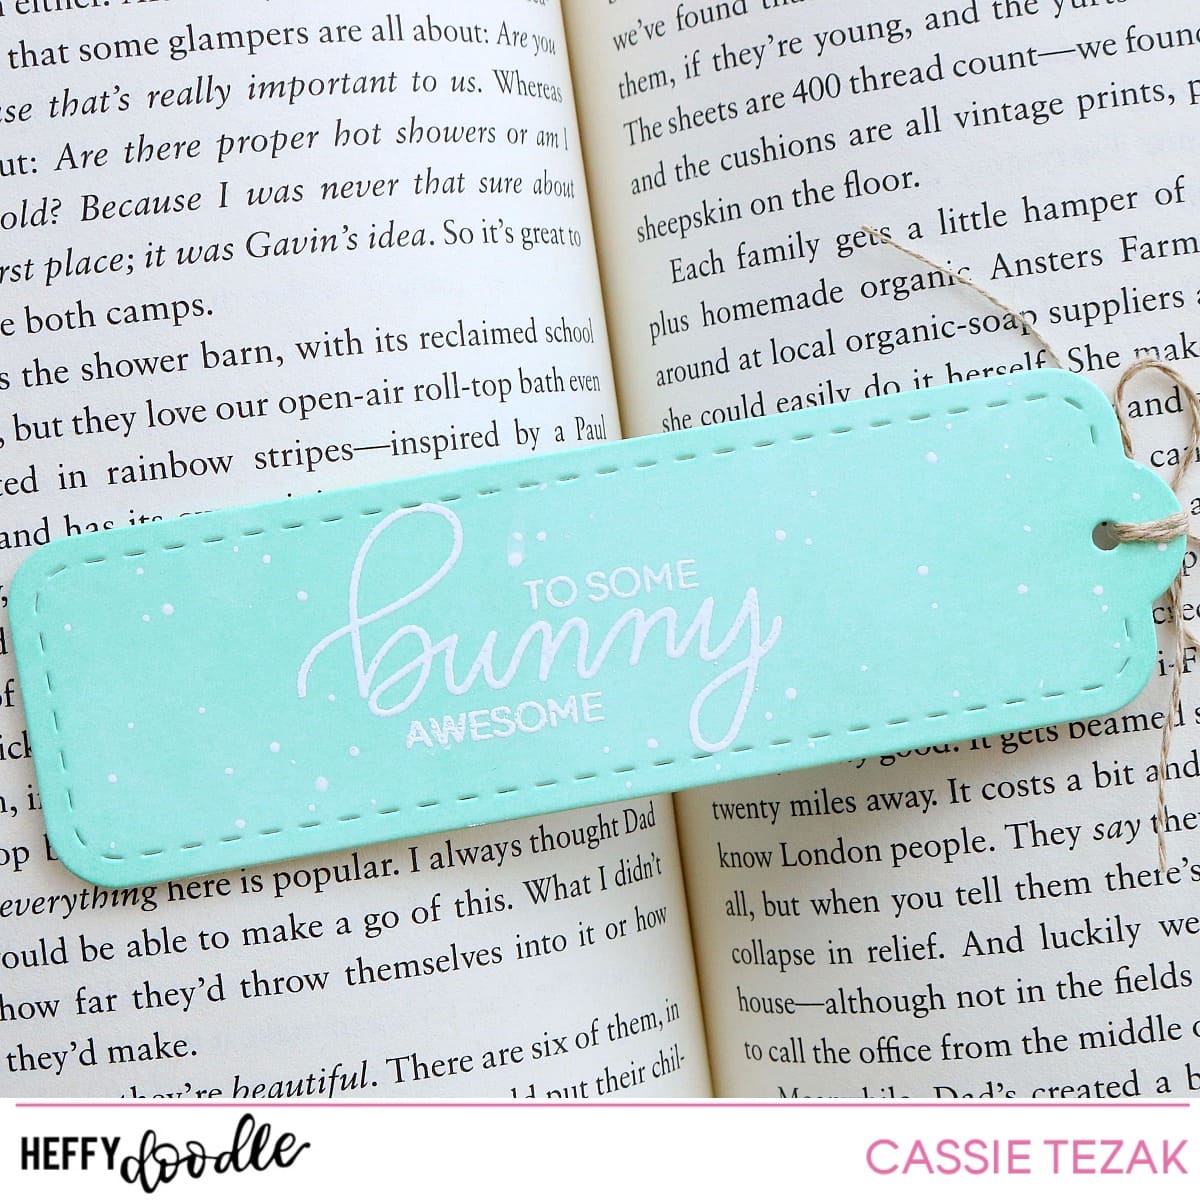
For the back of the bookmark I heat embossed a sentiment from Honey Bunny Boo, mixing two of the fonts. I like the way the ‘bunny’ is so big and pretty! I added adhesive only to the top 1/2 inch of the bookmark, so that the two pieces could be sandwiched together and be used like a clamp. To finish off the bookmark I added white dots to the back side, and a dainty twine bow at the hole at the top. And that’s it for my project today! I hope you enjoyed it! I have a feeling this is going to be sent out in an Easter care package to one of my friends 🙂 Thanks so much for stopping by today! I’ll see you again soon with another card!

Hello!

Hi, everyone! It’s Cassie here from Creatively Cass and I’m back to share a cute card I made for the blog today! I absolutely missed the St. Patrick’s day window this year, but I still wanted to get a rainbow card in, and this is what I came up with.

I’ve had the Rainbow Wishes die set from Concord & 9th forever, and it was time to finally use it! I die cut some of the rainbow pieces out of the new Lawn Fawn card stock colors Pencil Eraser, No. 2 Pencil and Sage Leaf. I love these new colors and can’t wait to use them again! I also die cut some Heffy Doodle Swirly Clouds dies from a light gray cardstock. Then I used Black Soot Distress Oxide ink to darken up the bottoms of them a little.
I die cut the Stitched Cloud Backdrop die from white card stock and heat embossed some little stars all over the panel with gold embossing powder. I thought this added a cute touch to the background, without adding any competing colors. I also ink blended some Pumice Stone Distress Oxide in the corners and splattered a little bit of the color watered down for some more texture. I stamped out the cute little cat from the Mama Elephant set Book Worm and colored him in with my Copic markers. I kept the coloring really simple, and I love the way it turned out so soft. I popped everything up with foam tape and adhered it to the card base.
To finish off the card I heat embossed a simple hello from the Concord & 9th set All Year Long onto some black card stock. This too was popped up with some foam tape. The last little details I added were white gel pen on the rainbow, clouds and kitten. And that’s it for my card today! I hope you enjoyed it. I had fun making it! Thanks so much for stopping by today! I’ll see you again soon with another card 🙂