MFT – A Friend Like You

Hi everyone! It’s been a while, hasn’t it?! I’m excited to be back sharing cards with you for Butterfly Reflections Ink for the next few months 🙂 Vanessa asked me if I could fill in, and of course I was thrilled to do so and dip my toes back in the card making universe after being absent for so long. Today I have a card to share with you using some of the awesome products found in her shop. Let’s take a look at the card.
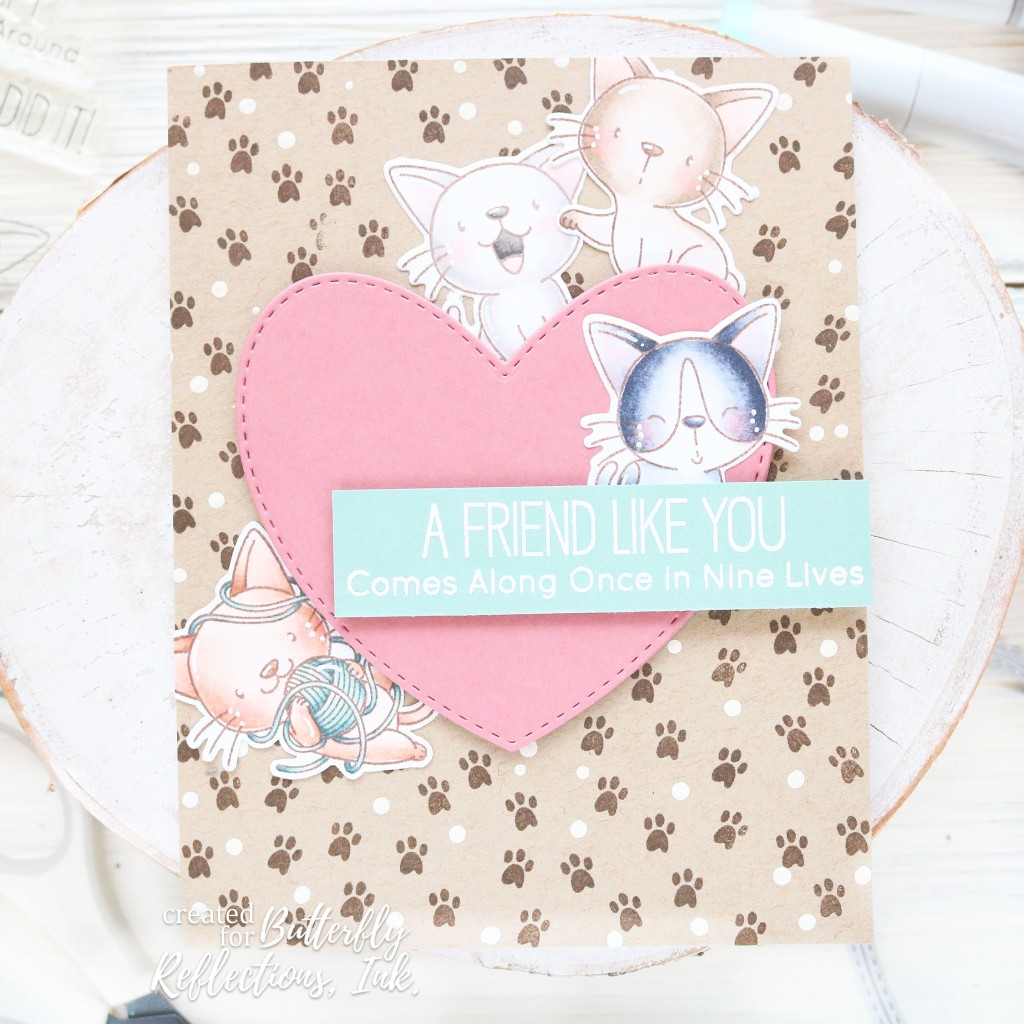
I love the animal stamps that MFT has, and I couldn’t resist using these cats from the Cat-astrophe stamp set. I stamped out four of the cat images from the set using one of my fave brown inks from Catherine Pooler: Icing on the Cake. Then I used my copic markers to color them all in. Every now and then I love the softer lines of the brown ink instead of going with my standard black ink. Once they were colored I used the coordinating dies to cut them out.
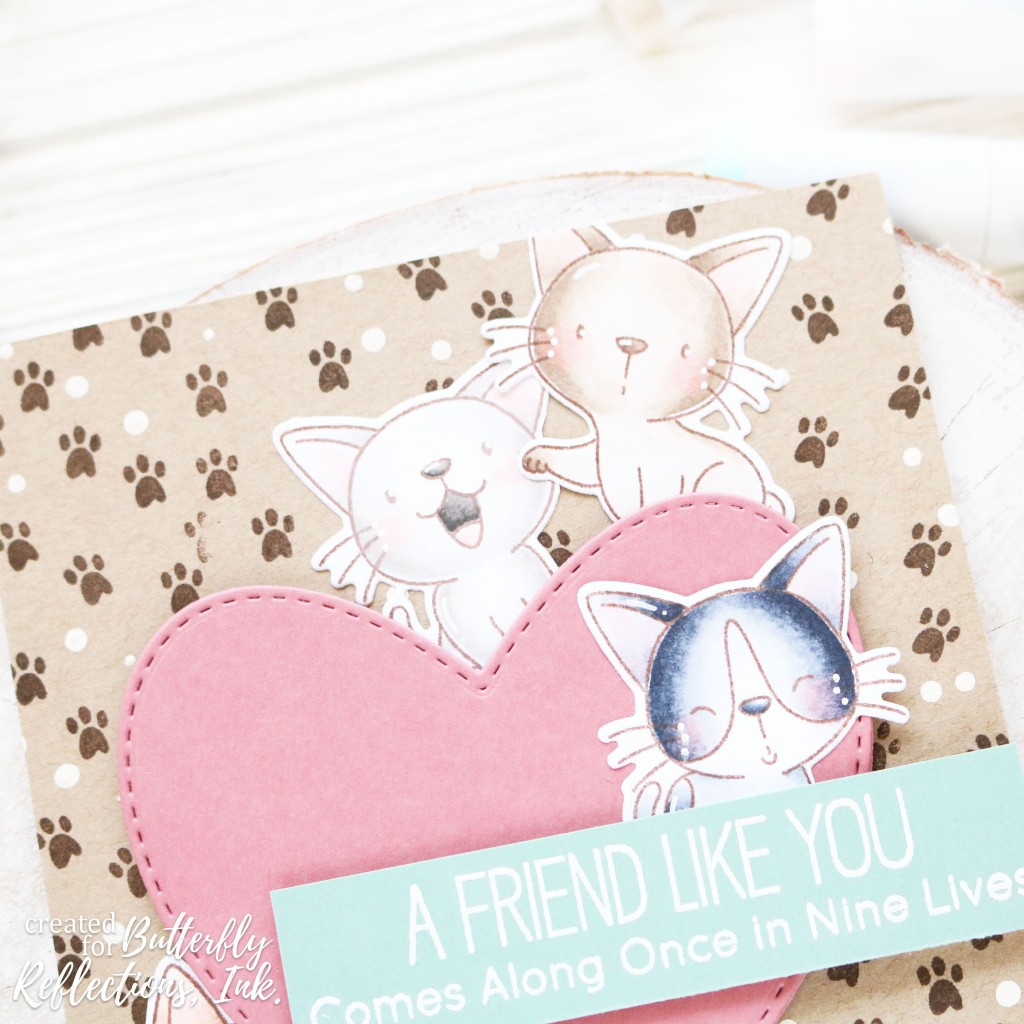
Next I used some colored cardstock and kraft cardstock from Lawn Fawn to create the background and other stamped and die cut pieces. For the background I stamped the paw prints with the same Icing on the Cake ink onto an A2 sized piece of kraft cardstock. I also added some white dots with paint and a dotting tool. I die cut a heart using the Stitched Heart die by Heffy Doodle and some Pencil Eraser cardstock from Lawn Fawn. This is one of my favorite pink cardstocks of all time. And I love the weight of the Lawn Fawn cardstock! Finally I stamped a piece of Sage Leaf cardstock with a sentiment from the Cat-astrophe stamp set with VersaMark ink and heat embossed it with white embossing powder.
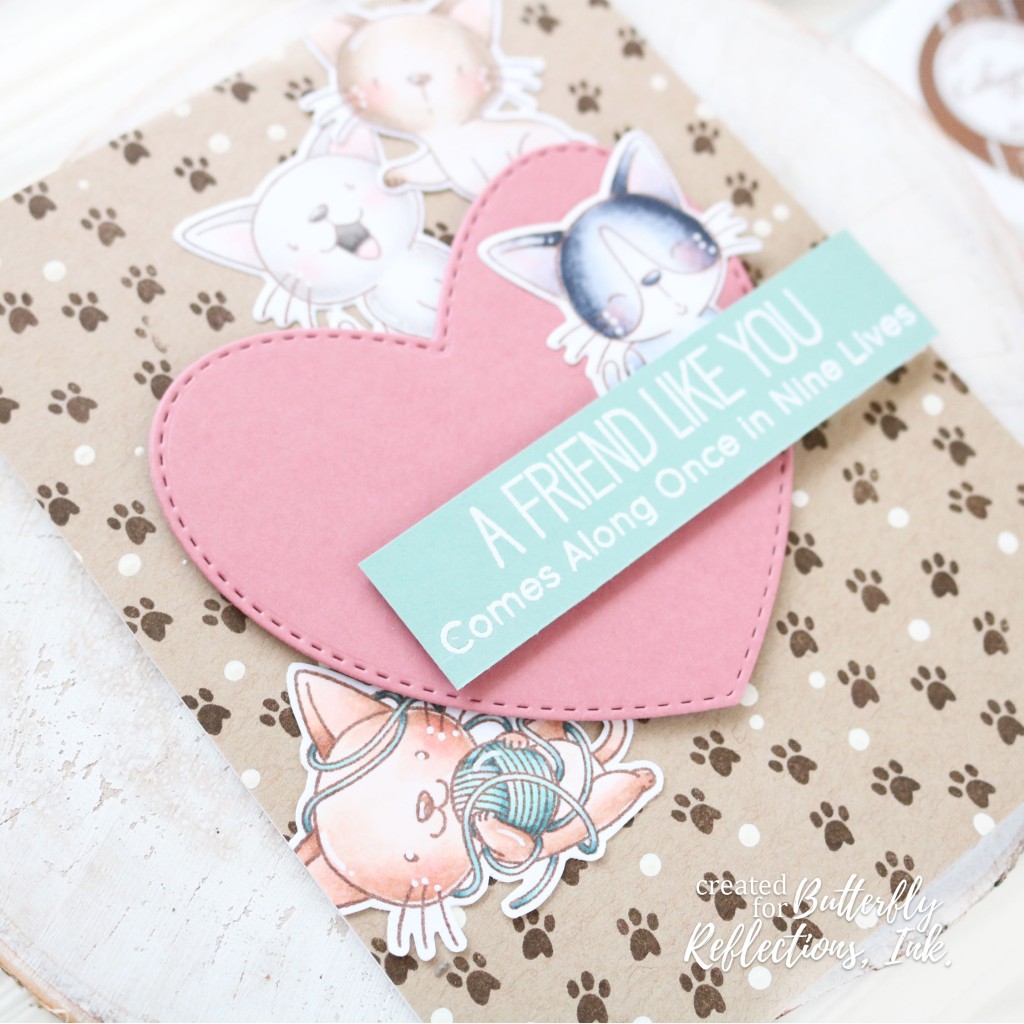
All that was left to do was put the card front together! I added foam tape to the back of the heart and tucked the cats around it, adding the sentiment last. Final touches included some white gel pen dots and accents on the cats and my card was finished! I had so much fun making this card and getting back into one of my favorite hobbies. I was definitely rusty, but I can’t wait to keep creating and sharing my cards with you all! Thank you so much for stopping by, and I’ll see you again soon with another card!

Hello!

Hi, everyone! It’s Cassie here from Creatively Cass and I’m back to share a cute card I made for the blog today! I absolutely missed the St. Patrick’s day window this year, but I still wanted to get a rainbow card in, and this is what I came up with.

I’ve had the Rainbow Wishes die set from Concord & 9th forever, and it was time to finally use it! I die cut some of the rainbow pieces out of the new Lawn Fawn card stock colors Pencil Eraser, No. 2 Pencil and Sage Leaf. I love these new colors and can’t wait to use them again! I also die cut some Heffy Doodle Swirly Clouds dies from a light gray cardstock. Then I used Black Soot Distress Oxide ink to darken up the bottoms of them a little.
I die cut the Stitched Cloud Backdrop die from white card stock and heat embossed some little stars all over the panel with gold embossing powder. I thought this added a cute touch to the background, without adding any competing colors. I also ink blended some Pumice Stone Distress Oxide in the corners and splattered a little bit of the color watered down for some more texture. I stamped out the cute little cat from the Mama Elephant set Book Worm and colored him in with my Copic markers. I kept the coloring really simple, and I love the way it turned out so soft. I popped everything up with foam tape and adhered it to the card base.
To finish off the card I heat embossed a simple hello from the Concord & 9th set All Year Long onto some black card stock. This too was popped up with some foam tape. The last little details I added were white gel pen on the rainbow, clouds and kitten. And that’s it for my card today! I hope you enjoyed it. I had fun making it! Thanks so much for stopping by today! I’ll see you again soon with another card 🙂


Warm Winter Wishes

Hi, crafty friends!  I’m back to share a non traditional holiday card with you all. Sometimes I get a little sick of the typical holiday color combos, so today I went with pastels and I ended up really liking it! Let’s jump right in.

I started by stamping the two ladies from Right at Home’s Cuppa Friendship stamp set at the bottom of an A2 size card panel. I used my Copic markers to color them in, and added a straight line using my ruler across the bottom to look like they sitting at a table together. I loved coloring these two in! There is a lot of detail you could go into with all the lines in these images, but I kept it somewhat simple, only using a few different colors for each girl. I added detail with my white gel pen to each image. Then I created masks for the two girls and ink blended some Milled Lavender Distress Oxide ink that faded towards the top. It’s really subtle, but looks lovely in real life.
Next, I die cut the Sending die from Heffy Doodle from the upper section of the same panel. On my card base I ink blended the Catherine Pooler ink color Icing on the Cake, so that it would show through where I die cut the sending die. I also die cut another sending die and ink blended Over Coffee ink from Catherine Pooler over it. This die cut was adhered offset from the one I die cut from the panel so that the darker brown ink looked like a shadow. Then I added glossy accents to the die cut word to make it pop even more.
To finish the card I heat embossed the sentiment from the Heffy Doodle set Elfing Christmas Words on some Vanilla Malt cardstock from Lawn Fawn with gold embossing powder. I adhered it with foam tape and my card was complete! I hope you liked this non traditional holiday card for today. Be sure to head over to the Butterfly Reflections Ink shop to pick up any of the products you’ve seen on my card and many more! Thanks so much for stopping by, and happy holidays!


Thank You So Much

Hi,  friends! I’m happy to be sharing another card I made for Butterfly Reflections Ink today! I got to play around with some fun products from a few of my favorite companies to come up with the cute fall thank you.

I started the card today by using my washi tape to mask off stripes so that I could do some ink blending. Once my tap was in place I used an ink blender and the colors Tattered Rose and Worn Lipstick to blend onto the stripes. I made sure to keep Tattered Rose to the center and Worn Lipstick just on the edges for an gradient look. Before I took the tape I splattered some gold from a Metallic Accents Water color set over the stripes as well. Then I peeled up the washi tape and let it dry.
I used the same water color paints on a piece of Bristol Smooth water color paper. I let that dry and die cut the Stitched Leaves from Lawn Fawn from the paper when it was dry. I arranged those in a cluster on the stripe piece of paper. The three smallest leaves were added with foam tape, while the rest were adhered directly to the base.
Finally, I stamped out the cute little bunny with a scarf from Pix’s Favorites on some Neenah Solar White paper as well as the speech bubble from Heffy Doodle’s Whatcha Sayin. I used my Copics to color them, and fussy cut them both out. For the speech bubble I used a copper embossing powder to heat emboss the sentiment on it. Both were added to the card with foam tape. Finally, I added some white gel pen accents, and my card was complete! I hope you enjoyed the card I made for today! Be sure to check out the products I used in the Butterfly Reflection Shop. Thanks for stopping by, and I’ll see you again soon with another card!


You’re Furtastic

Hello, friends! I’m so happy to be back over on the BRI blog today share a card I made with you. One of my fave things about being back on the blog is getting a chance to use all the goodies I purchased from Vanessa in the shop. There aren’t enough hours in the day! Today I made a card using a stamp set that has been calling my name from The Greeting Farm.

Isn’t this so bright and fun?! I just love those little ladies and their kitten friends. I started the card by stamping the center girl from Hey Pretty Kitty Stamp. I made a mask for her and then stamped her two friends next to her with MFT’s Extreme Black ink because it is Copic friendly. Then I colored them in with some really simple Copic combos.
I wanted this little trio to really pop so I used the Heffy Doodle Clover Frame Dies to cut them out. I used a couple gray and tan copics to create a ground, but for the sky I ink blended Broken China Distress Oxide at the top, and faded it towards the girls so that I didn’t have to create masks for them all. Below them I heat embossed the sentiment ‘you’re furtastic’ with gray embossing powder.
To create the background I die cut the stitched rectangle from the Clover Die set and ink blended Abandoned Coral and Wild Honey Distress Inks so that they mixed in the middle to create a pretty orange. All the Distress Ink covered areas were spritzed with water to create the splattered look. I added the scalloped rectangle with foam tape to the stitched rectangle and added the whole thing to a card base.
And that’s my card for today! I hope you enjoyed it. I know I had fun making it 🙂 All of the products I used are linked when mentioned, so if you see something you like be sure to check it out in the Butterfly Reflections Ink shop! Thanks so much for stopping by, and I’ll see you again soon!


Butterfly Reflections Ink Blog Hop!

Hey, all! I’m here to share the fun new stamp set collaboration between Butterfly Reflections Ink and Kimma Parish. We’ve got a blog hop to celebrate-and you’re not going to want to miss the cute projects we’ve made to celebrate!

IMG_1733.jpg

The new stamp set is called Breath Rainbows, and it is seriously adorable! It’s got so many cute images drawn by Kimma. I’ve been a fan of her work for a wile now, so this set was a real treat! For my card I used the meditating sloth and paired him with some other cute products you can find in the shop.

IMG_1734.jpg

I used some of the birthday images from the Greetings Bear Stamp set by Hello Bluebird. All the images were colored with Copics and fussy cut out. I adhered them with foam tape to the Stitched Cloud Backdrop die.

IMG_1735

To finish the card I heat embossed my sentiment on some black card stock and added it with foam tape. And my card was complete! I hope you liked my card for the blog hop! Be sure to keep hopping along and see all the great projects current and past design teams have in store!

Keep hopping along:

You Make Me Ridiculously Happy

Hello, crafty friends! Happy Saturday. I hope you’re all enjoying your weekend 🙂 Today I’m sharing a card I made using some Honey Bee Stamps products that feature a fun and bright card front. Let’s dive in!

I started this card by taking a piece of A2 size 110 lb card stock and doing some stamping. I stamped the flowers from Honey Bee’s Busy Bee stamp set, adding stems and leaves to each flower. I overlapped them, which required some easy masking. I colored in the petals and flower centers, but left the stems and leaves until after the next step, since I wasn’t taking the time to mask them. Next came the ink blending. On the top I ink blended Mermaid Lagoon Distress Oxide ink and the bottom I used Twisted Citron and a hint of Lucky Clover Distress Ink. As you can tell, the colored don’t mix in the middle. Instead I faded them to white so that it just looked like the sky and the grass. Once that was done I finished coloring the stems and  leaves.

I stamped the adorable, Ridiculously Happy stamp in the top center of the card for my sentiment. Next I stamped out a ton of the little bees from the set and colored them in. I don’t have the coordinating dies for these, so I fussy cut them out. I rolled each of their wings with a pencil, and added them to the card with foam tape. My finishing touch was to add a bunch of little Nuvo Crystal drops all over in the color Ebony Black. And that finished my card!

I hope you enjoyed the card I made for today! And I hope you all are having a great weekend! Thanks so much for stopping by.

Oh Happy Day!

Hi, everyone! I hope everyone is having a lovely Sunday, and for those of you waiting for Santa, I hope he treats you well! I’m back to share a fun holiday card with you. The card for today could be used for a lot of wintery occasions, but I had a birthday in mind when I put it together.

As you can see I made some cute little penguins into some balloons! I started by die cutting the Stitched Cloud Backdrops die from Lawn Fawn from some 120 lb Neenah Solar White card stock. I wanted my card to be nice and sturdy. I used the gold paint from my Gansai Tambi water color set to splatter some paint over the clouds. I wanted to tie in the gold that I was going to bring in later, and this added a little interest to the otherwise blank sky.

Then I stamped the cutest little penguin from the Pink and Main set Warm Hug. These little guys are too cute for words. I stamped them with Memento Tuxedo Black ink and colored them in with my Copic markers in some cute rainbow colors. Then I fussy cut them out with some sharp detail scissors like these. For the headband I used my craft knife to cut out the middle. If I had though of it sooner I might have cut it off entirely and used some thin wire instead, which would have been an adorable touch.

Once they were all trimmed out I grabbed my gold thread and taped it to the back of each of them, leaving a tail. I wrapped the tail around the bottom of the card and tapped it so that they strings were tight. The penguins were popped up with foam tape to add some dimension.

Finally, to add my sentiment, I grabbed my Mini Misti and the Lawn Fawn set Hello Sunshine. I love this set and don’t get to use it often enough! I lined it up where I wanted, and used my Misti to double stamp it with VersaMark ink. Then I heat embossed some pretty gold embossing powder over top. The pictures never do it justice, but it is stunning!

And that’s it for my card! I did add a couple white gel pen accents with my white Gelly Roll pen, but otherwise it was finished after I adhered it to my card base. Thanks so much for stopping by!! I hope you’re all having a nice Sunday, and a happy holiday season!

Butterfly Reflections Ink WCMD

Hi everyone! We’re almost there. Almost at the last post of the day that is. This is my second to last post, and I’m joining in the celebration of World Cark Making Day again, this time with Butterfly Reflections Ink! The card I made for today was inspired by the monthly mood board for BRI.

This is such a gorgeous combo of colors and I already knew what stamp sets I wanted to use, and isn’t that half the battle? 🙂 Here’s a look at what I came up with.

023

I started by die cutting a square stitched die like this one. Then I ran the stitched lines of the MFT Stitched Hearts Grid die through my die machine as well as the heart part of the die. I used a mixture of Copics and Distress Inks to color all of the hearts. Then I attached them with Glue Dots.

watermark 1.jpg

Then I stamped out the adorable little bear from the Bitty Bear set. I colored him in with my Copics and traced the outside with a black marker. I popped him up in the center of the hearts with some foam tape. Then I stamped my sentiment from the #Hashtag Bossy stamp set which is a Butterfly Reflections Ink exclusive. And that finished my card!

040.jpg

I hope you enjoyed the card I made for Butterfly Reflections Ink! Be sure to head over to their blog and see what the other design team members (past & present!) created!

Thanks for stopping by for another card today. I’ll be back later with my blog hop projects for the Your Next Stamp release! I hope you’re all having a great crafty day!